Wednesday, November 30, 2016

Teepi Sajja Rottelu | Sweet Bajra Roti | Travel Food Recipes

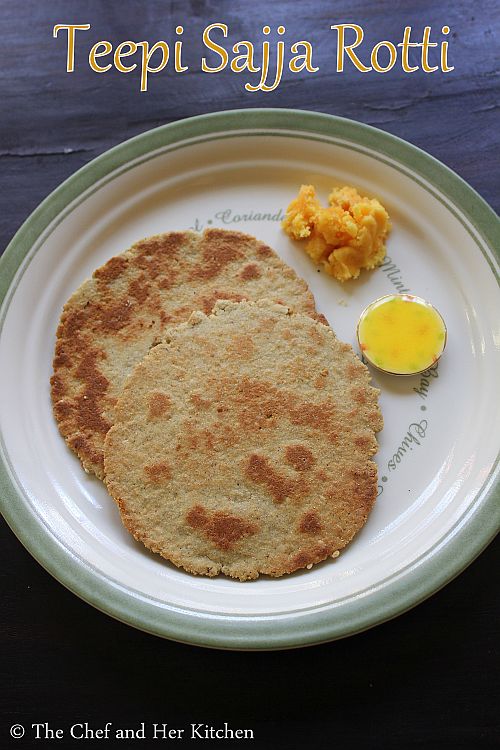
teepi sajja rotti
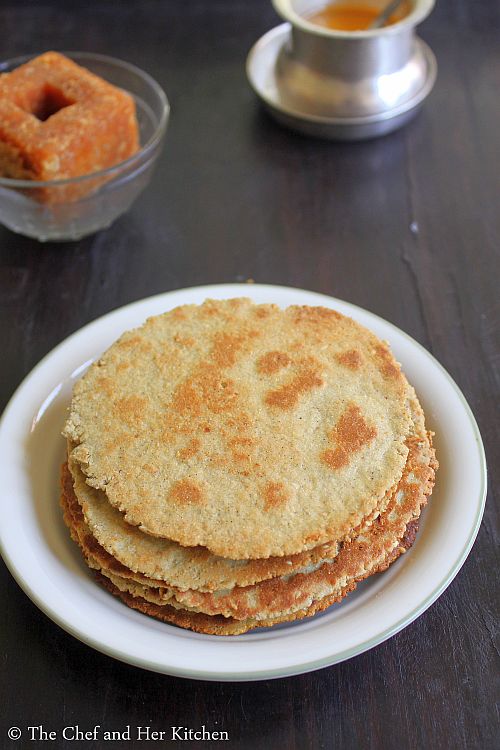
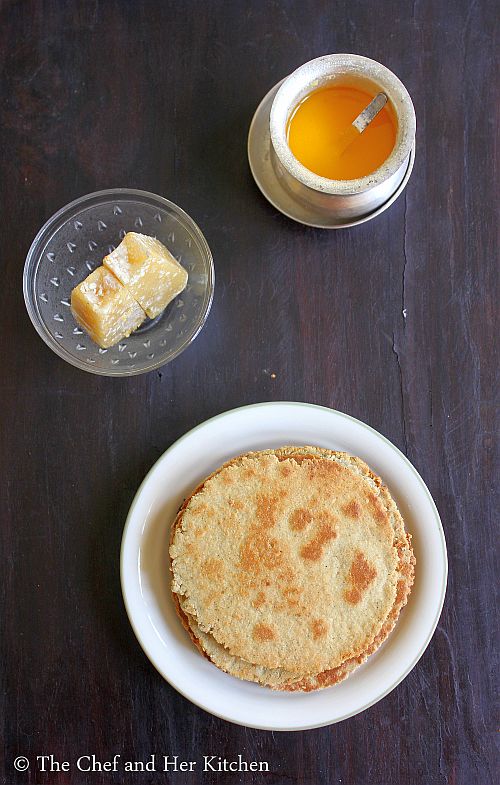
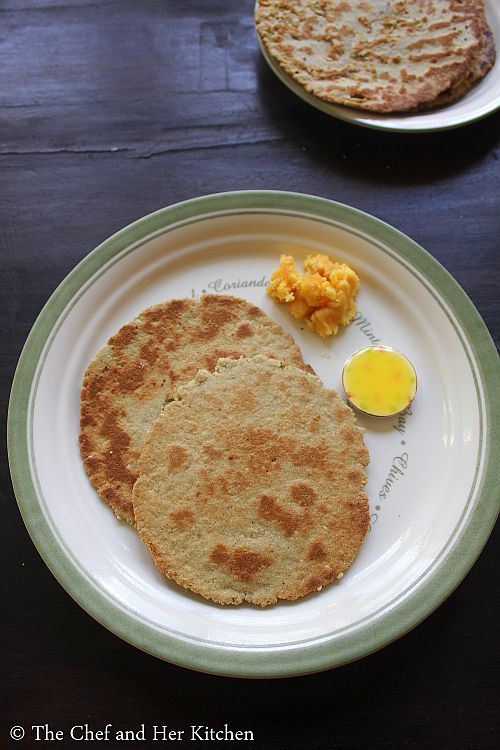
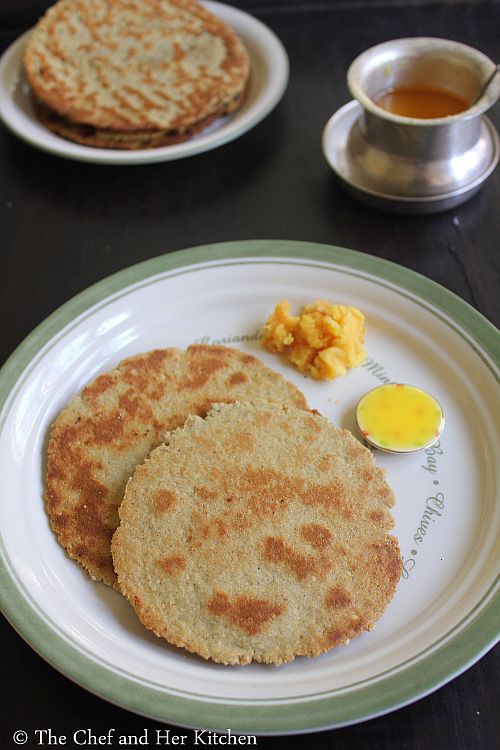
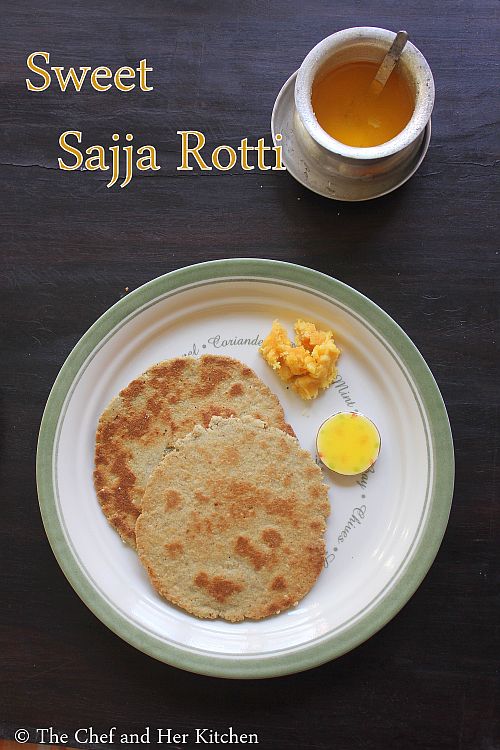
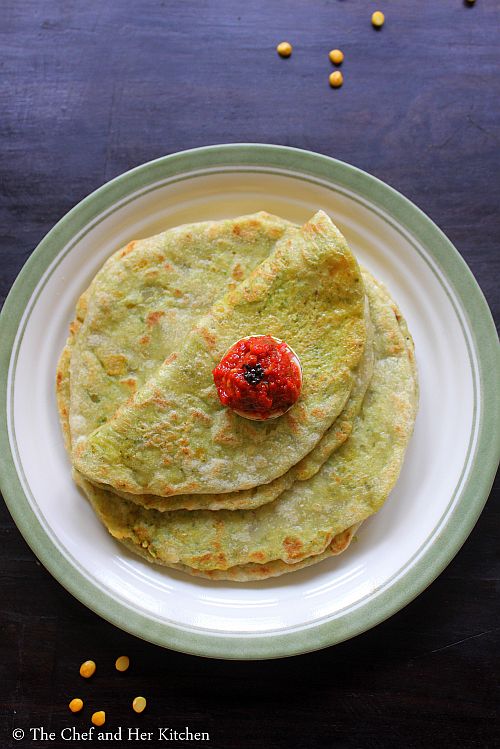
I have posted recently Sajja Rottelu which is a plain version and is served with Onion Chutney. My mom prepares both the varieties - sweet and savoury sajja rottis together for breakfast and she usually does it in large quantity and store the remaining ones so that we can snack on it later. Sweet Bajra roti is delicious and can be eaten fresh out of the tawa for a slight soft version and they turn like Sweet crackers once they are cooled down,it is a guilt free sweet to munch on as a snack.
teepi sajja rotti

teepi sajja rottelu
Though the preparation process of this sweet bajra roti look simple, it is very difficult to get it right as the rotis tend to break easily while flipping on the tawa. The whole key for a successful roti lies in the consistency of the dough, one should make really TIGHT dough to get it right and also should be handled very carefully while flipping the rotis. These rotis stay good even for a month and hence is ideal to carry it for travel.
sweet bajra roti

Teepi Sajja Rottelu | Teepi Sadda Rotti | Sweet Bajra Roti Recipe:
Yields: 10-12 Rotis
Prep time: 10 mins | Cooking time: 20 mins | Total time: 30 mins
Cuisine: Indian | Category: Breakfast/Snack/Indian Flat Bread

Ingredients:
2 cups Bajra flour
1/2 cup roasted Groundnut powder
1 tbsp Sesame seeds
1 1/2 cup grated Jaggery
Water(3-4 tbsp approx)

Method:
  • Mix very little water(3-4 tbsp water) with grated jaggery and boil until the jaggery melts.Switch off the flame.
  • Add groundnut powder,sesame seeds,bajra flour little by little and mix.You need to add the flour until you get a very tight dough.The dough should be very TIGHT which is a key process for the recipe.
  • Divide the mixture into 10-12 uniform sized balls and keep it covered.
  • Clean,wash and wipe a polythene cover and cut into 5" dia rounds and grease the sheets on one side and place them on the sides of the press facing the oiled edges towards the center.
  • Place the kneaded round dough in between the sheets of the presser and press it in the poori presser and press it to get approx 5" diameter round roti.Do not make it very thin, it should be of same thickness as chapati.
  • Heat the tawa and carefully transfer the pressed bajra roti on a hot tawa and roast it over low-medium flame for 2 mins on one side and carefully turn it on to the other side and roast it for another couple of minutes.Do not try to flip it immediately as the roti will break, hence roast it completely on one side.You will see brown spots over it and the corners.These rotis should be made on low flame and usually takes long to get roasted than the usual rotis as we will roast them until they become slightly hard.
  • Transfer to a plate.
  • Repeat the process and prepare all the rotis in the same manner.You can grease the plastic sheets in between so that the dough will not stick to it.
Serve these rotis hot/room temperature for breakfast or as a snack.You can smear it with ghee while serving hot.
teepi sajja rottelu

Notes:
  • It is very important to keep the dough tight otherwise the roti will break when roasting.
  • These rotis will be slightly soft to bite when served hot but slowly turns hard(like crackers) once they are cooled and makes it ideal to store for long duration and hence can be used for journeys.
  • Once the rotis are cooled down you can store it in air tight container and use it when required.It can be stored upto 2 weeks.
  • You can try adding cardamom powder to the flour before mixing which might give a nice flavour.My mom always prepare it plain sweet and we love that way.
sweet sajja rotti

Monday, November 28, 2016

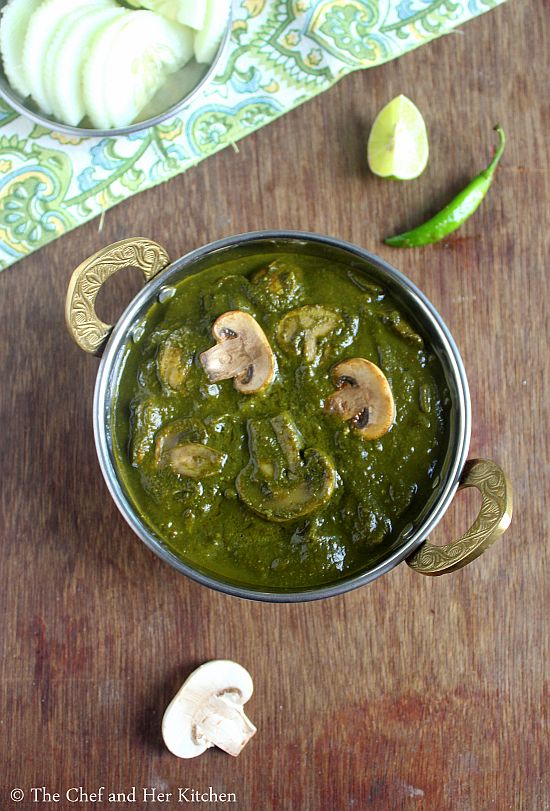
Palak Mushroom Curry Recipe | Khumbh Palak | Mushroom Recipes

khumbh palak
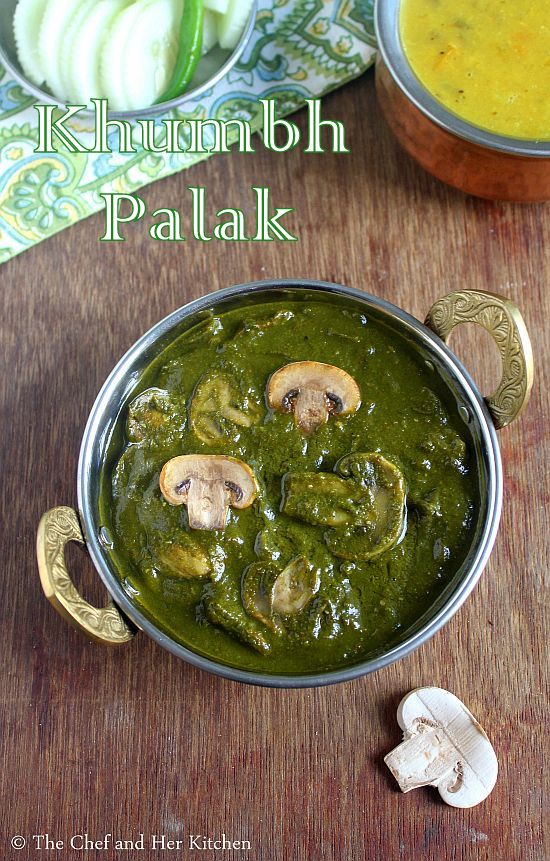
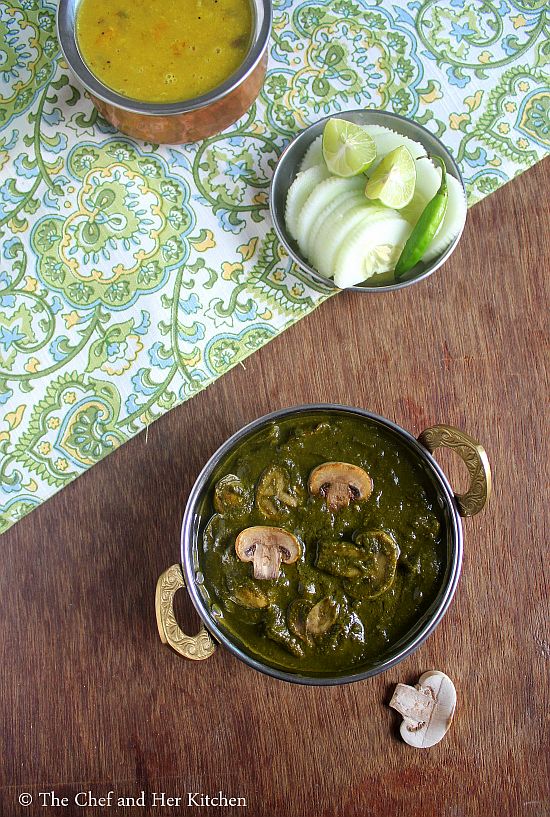
My weekly groceries always has Spinach in the list and I make atleast once a palak based gravy like Aloo PalakPalak Paneer, Makai Palak Paneer, Chana Palak, Dal Palak, Saag Paneer, Rajma Palak, Palak Kofta curry, Veg Palak, Soya Palak or Mushroom Palak. These gravies pair nicely with everyday rotis or any other Indian flat breads like Parathas,Naans,Kulchas or even mild pulaos like Jeera Rice, Bagara Rice, Peas Pulav or plain Basmati rice. If you like Mushrooms then this recipe is a double treat as the goodness from the palak and the meaty texture of mushrooms is definitely a treat for your taste buds. Mushroom recipes are the most requested recipes from my readers too.
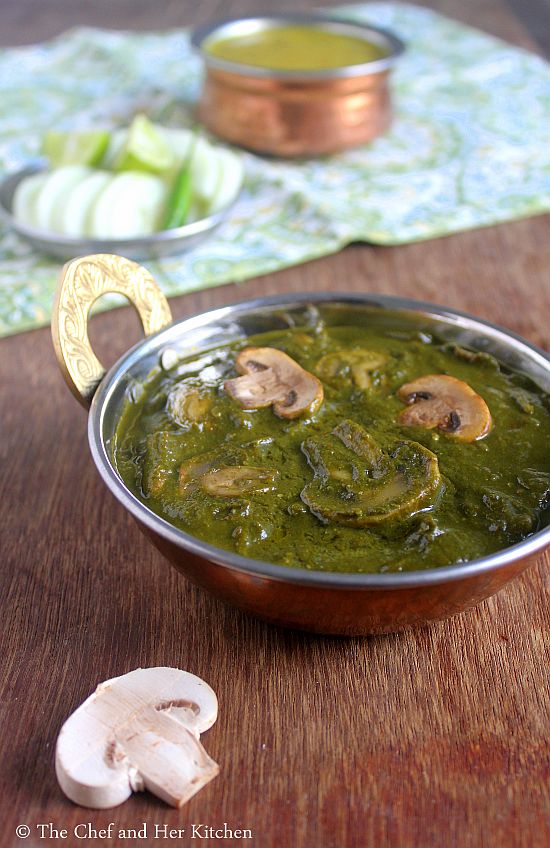
khumbh palak

palak mushroom curry
Among all the greens, Palak is the most easiest green to clean and can be used in various dishes too apart from the gravies - you can prepare Palak(Spinach) Rice, Palak Khichdi, Palak Thepla,Palak Aloo ParathaPalak Paneer Paratha, Palak puri and also various snacks like Palak Pakora, Hara bhara Kebab etc.Even in South Indian cooking it is been used extensively like Palak dal, Palak chutney, Keerai Molagootal, Sambar etc. The list seems endless,no wonder that the usage of these greens are so extensive in Indian cooking considering the possibilities that one can prepare using these greens.Now off to the recipe.
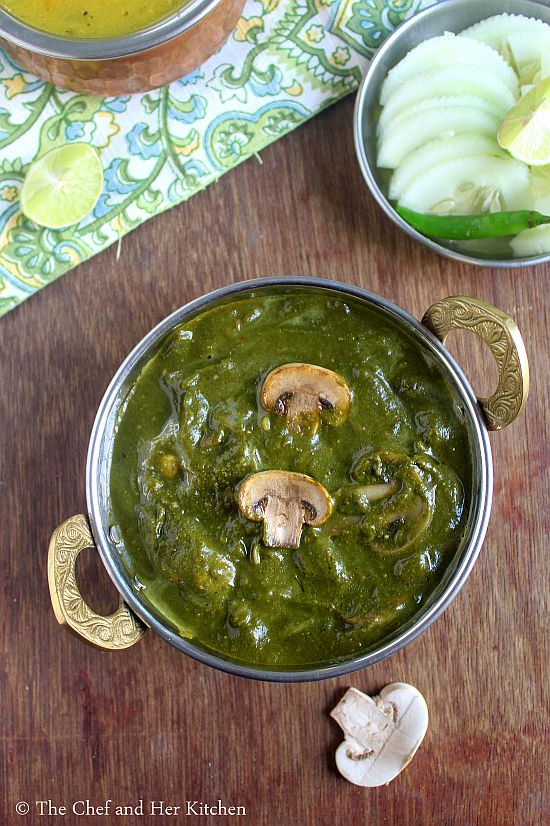
palak mushroom
If you are interested check out other Mushroom recipes in my blog:
palak mushroom curry

Palak Mushroom Curry Recipe:
Serves 2-3 | Author: Prathibha
Prep time: 15 mins | Cooking time: 30 mins | Total time: 45 mins
Cuisine: North Indian | Category: Side dish(Gravy)

Ingredients:
250 gms Button Mushrooms
1 big bunch fresh Spinach(Palak)
2 tbsp fresh Cream or 1/4 cup whole Milk
7-8 Cashewnuts,optional
2 Onions (1 roughly chopped, 1 finely chopped)
2-3 Green chillies
2 tsp Coriander powder
1 tsp Cumin powder
1/2 tsp Garam masala
1/2 tsp Amchur powder
3/4 tsp Kasuri methi
a pinch of Sugar
1/2 lemon,cut into wedges
1/2 tsp Cumin seeds
Salt to taste
2 tsp Butter
1 tbsp Oil

Method:
  • Clean and wash spinach,1 roughly chopped onion and boil it with green chillies and cashewnuts for 4-5 mins and drain them and keep aside.Alternatively you can saute them until the leaves wilt,add a pinch of sugar while cooking spinach which helps in retaining color.This process takes 4-5 mins.Cool the spinach.
  • Grind the spinach mixture to a fine puree.If you are doing it ahead remember to open the mixer after it is ground or transfer the mixture into a bowl.Don't keep the ground mixture covered for a long time as it will loose its beautiful color.
  • Clean mushrooms nicely,I usually rub the mushrooms with maida to remove the excess dirt and wash them and pat dry them.Trim the stalks and cut the mushrooms into 4-5 slices lengthwise.
  • In a wide pan heat 1 tbsp oil and sliced mushrooms and saute for 5-7 mins until they shrink a bit and leaves the juices and dries up.
  • Heat 2 tsp oil in a big kadai and crackle cumin seeds.Add ginger-garlic paste and finely chopped onions and fry well until the mixture is light brown in color and the rawness of onions disappears.
  • Add the spinach puree to the fried onions and add enough salt to it and cook it open over medium flame for 3-4 mins.
  • Add coriander powder,amchur powder,cumin powder,garam masala and kasuri methi(slightly rub it in between your fingers while adding)to it and fry for a couple of minutes until the oil in the masala leaves the edges.
  • Add fried mushrooms to the spinach gravy and cook for another 2-3 mins until the gravy coats the mushrooms and also helps the mushrooms absorb the flavors.
  • Add butter to it and a give a nice mix.
  • Add cream and give a gentle mix and switch off the flame.If you are using milk add the milk after you switch off the flame.
  • You can squeeze lemon now or serve the lemon wedges with curry so that you can squeeze it over curry while eating like how it is served in restaurants.But do remember lemon is essential to give the sourness to palak mushroom as I did not use tomatoes in the gravy.
  • Add a blob of butter while serving.
Serve the gravy hot with any kind of Indian breads like Roti/Naan/Chapati/Paratha/Kulcha or Pulav.Also serve sliced onions and lemon wedges along with it.

Notes:
  1. Its a basic thumb rule to remember,do not cover while cooking any greens as they loose the beautiful green color.If you want to make it ahead and keep the gravy ready you cover it with a lid only after it comes to a room temperature.You can use perforated plate while cooling.
  2. I mentioned many times before that I do not combine palak and tomato as I believe that combination would lead to stone formation(though I am not sure).Hence addition of amchur powder and lemon juice is essential to give the sour factor to the gravy.If you want you can add tomato puree while sauteing and cut the amchur powder.
  3. Replace the mushrooms with paneer to make delicious Palak Paneer Gravy.
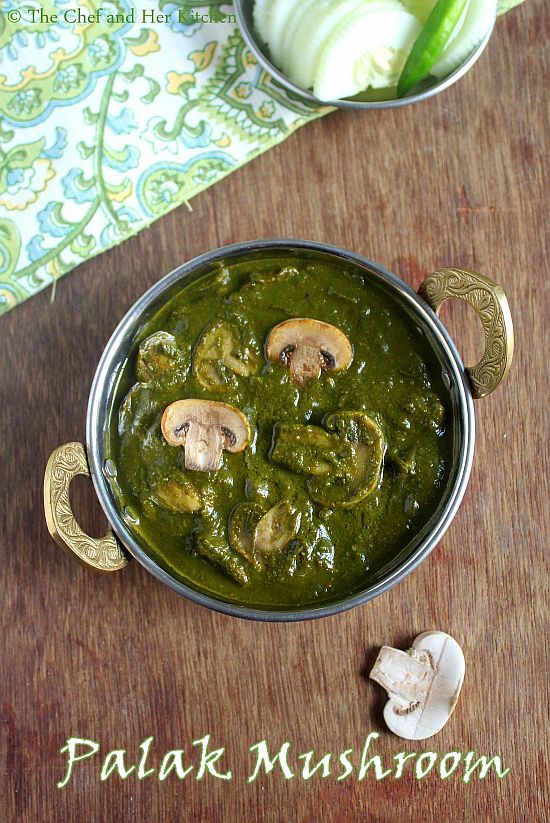
palak mushroom

Friday, November 25, 2016

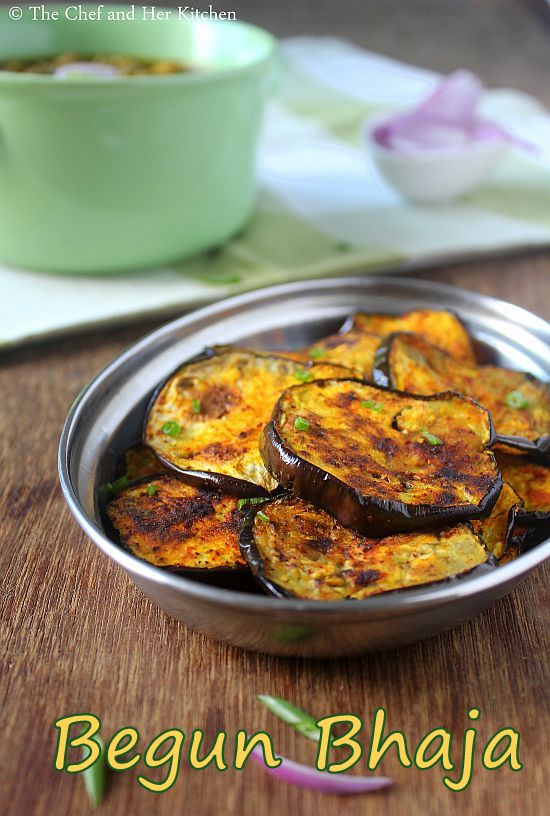
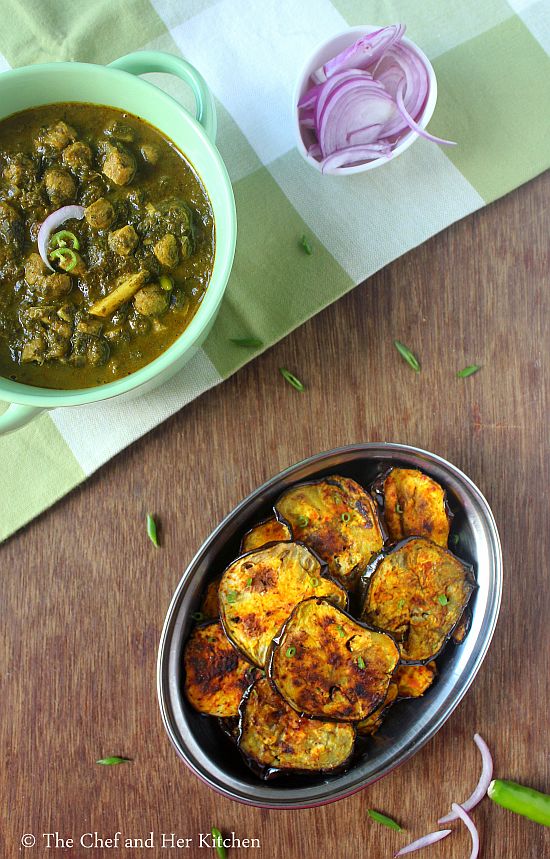
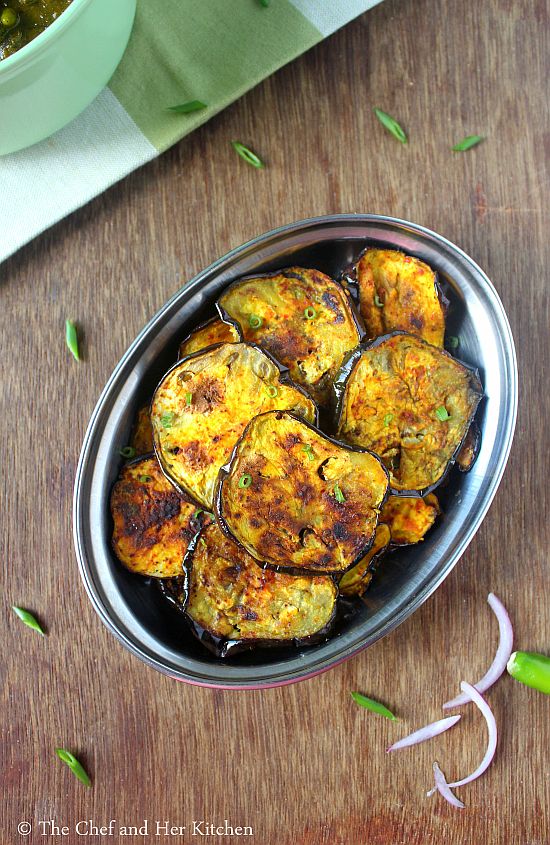
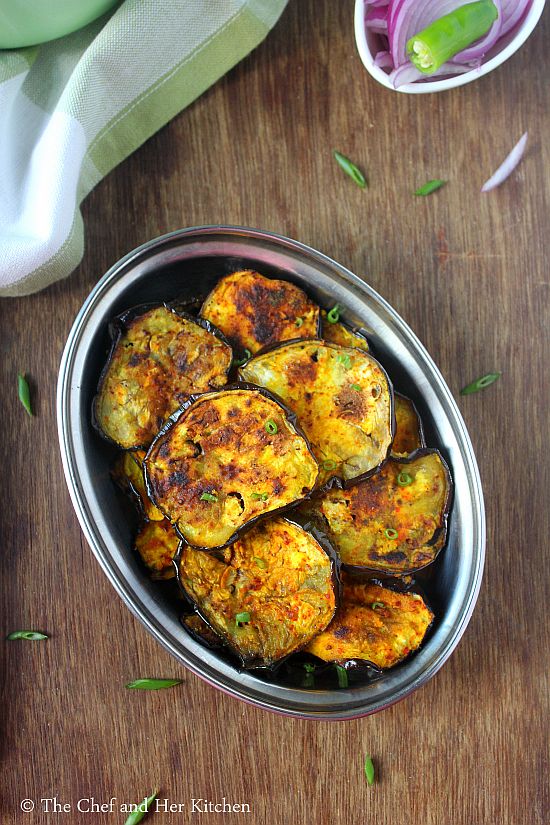
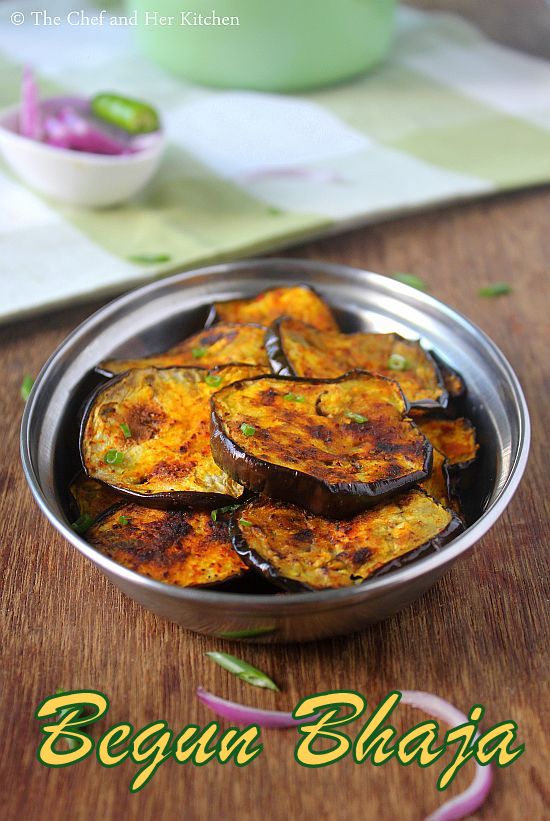
Begun Bhaja | Bengali Style Baingan Bhaja | Eggplant Fries

begun bhaja
Eggplants of various sizes make its appearance often in my kitchen in various forms.I use small brinjals for the dry or gravy based stuffed curries or dry curries like Aloo Baingan, Achari Baingan etc and medium long eggplants are used for dry curries or Eggplant Pasta or Vangibath where as the big eggplants(which we use for Baingan Bharta) or long Japanese Eggplants are used for Baingan Bharta or this Begun Bhaja.I like Brinjal based dishes very much and I like it in any form - simple stir fry or gravy or dry curry or rice or pasta or bharta.
bengali begun bhaja

bengali baingan bhaja
Today I am posting a simple Bengali recipe - Begun Bhaja, the recipe is quite simple with the most minimal spices we use in our everyday cooking. It is very simple to prepare and tastes very much similar to Andhra's Vanakaya Vepudu but the look of the final dish is different.Also the addition of mustard oil makes it bit distinct in flavor compared to the simple stir fry. I prepare another Maharasthrian recipe called Vangyache Kaap which is almost similar like Begun Bhaja just that the former version has more spices compared to the latter version. I absolutely love both the versions.
baingan bhaja
Check out other tasty preparations with Eggplants:
If you are interested check out Bengali style Vegetable Chops.
begun bhaja
Begun Bhaja Recipe:
Serves 2 | Author: Prathibha
Prep time: 5 mins | Cooking time: 15 mins | Total time: 20 mins
Cuisine: Bengali | Category: Side dish(Dry Curry)

Ingredients:
1 large Eggplant(Bharta waala Baingan or Japanese Eggplants)
1 tbsp Rice flour
3/4 tsp Turmeric powder
1 tsp Red chili powder
Salt, to taste
Mustard Oil/Any other Oil, to fry

Method:
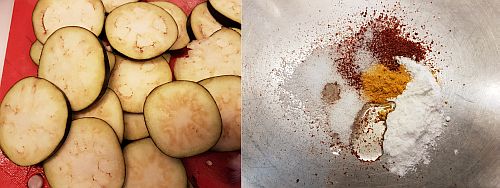
  • Wash and cut the aubergines into 1/2" roundels or of your desired size.Put them in water for 7-8 mins.This helps in removing the bitterness if any from the eggplants. Remove them and wipe them using a kitchen towel.
  • Meanwhile in a broad plate add rice flour, turmeric powder, red chili powder, salt and 2 tsp oil and  everything nicely. You can skip rice flour at this step and dip the marinated eggplants later in it before frying.
  • Now apply this mixture to the sliced eggplants on both the sides and let them marinate for 10 mins.
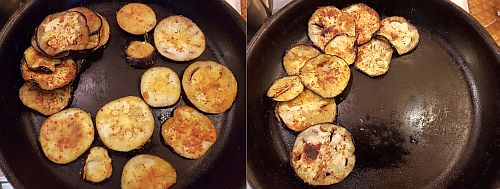
  • Heat a flat tawa and add 1-2 tbsp mustard oil(or any other oil) and spread it and place the marinated eggplant roundels in a single layer.
  • Let hem fry for 5-6 mins on medium flame and turn them gently to the other side and fry for another 5 mins. Do not overcrowd the pan if you have more eggplant slices, you can do in batches or in two pans simultaneously.
Serve them hot as a side dish for Rotis/Parathas or Rice.

Notes:
  1. Rice flour can be mixed along with the spices or one can dip marinated slices in it before you fry eggplants.
  2. If you like tangy and more chatpata add amchur powder and garam masala along with the other spices.
  3. You can skip rice flour all together if you want.
  4. You can also dip the marinated slices in fine sooji for crispy begun bhaja.
  5. Mustard oil adds a nice flavor to the eggplants, if you like it do not skip it.
bengali begun bhaja
Technorati Tags:

Wednesday, November 23, 2016

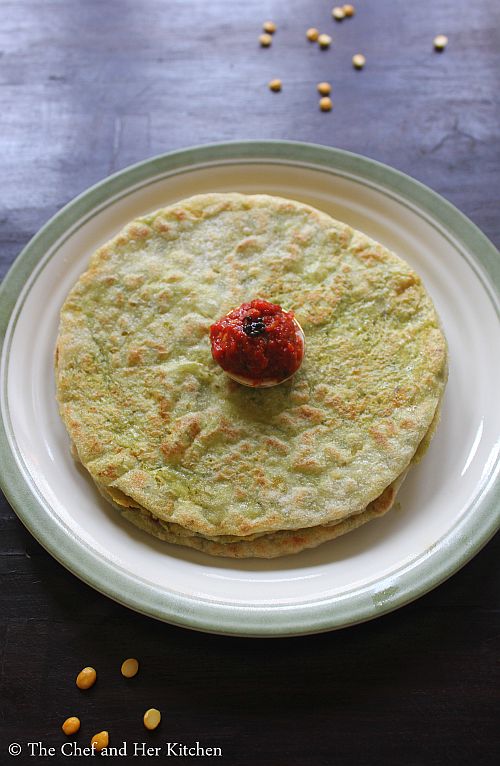
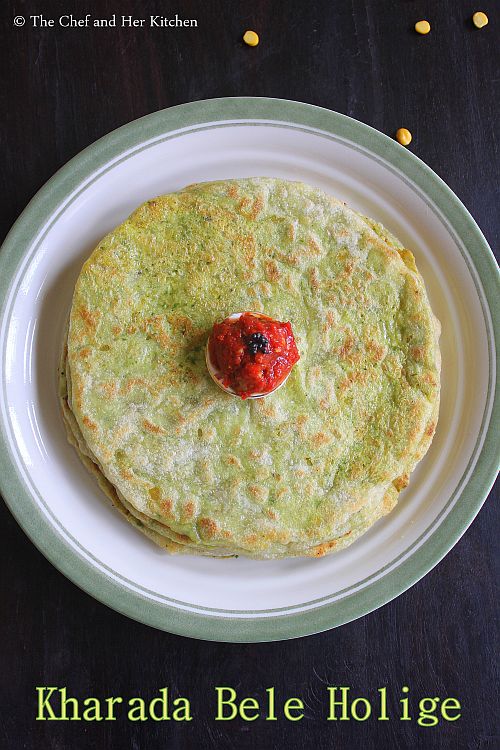
Kharada Bele Holige | Spicy Chana dal Poli | Spicy Obbattu Recipe

spicy pappy obbattu
Our community is famous for various holige varieties - both the sweet and savoury versions. I have posted lots of sweet holige recipes and also a variety of spicy holige- Palyada Holige(Spicy Alu Poli) in my blog.No festival is complete with out a variety of holige at my mom's place though I do not prepare much as TH is not very fond of it.But I relish these holiges when I visit my mom and she does not wait for a festival to prepares these various holige varieties for me. The most famous and common Holige variety is Bele Holige and Coconut Holige and is commonly prepared in most of the south Indian homes but our community version is bit different from others, check out the recipes to know more about it. Though the sweet Holiges are easily available in the stores,the savoury holiges are not easily available.
khara holige
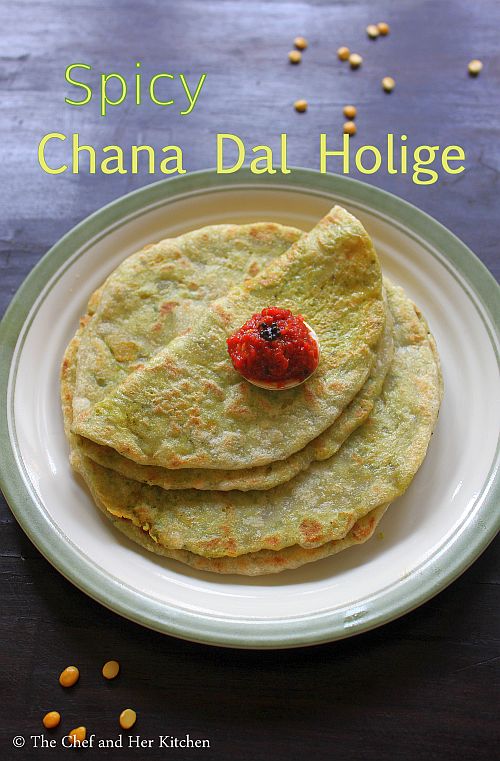
Today I am posting a savoury holige recipe which is prepared using chana dal and fresh coconut. The preparation of filling varies from recipe to recipe but the rest of the preparation process is quite similar to the sweet bele holige we prepare.I absolutely love both the savoury versions - Palyada(Alu) Holige and spicy bele(dal) holige and is paired with Coconut chutney,we usually prepare them for breakfast or dinner.
spicy chana dal poli
Check out various Holige Recipes in my blog:
kharada bele holige

Kharada Bele Holige | Spicy Chana Dal Poli | Karam Pappu Bobbatlu | Spicy Obbattu Recipe:
Yields: 8-9 Polis
Prep time: 30 mins | Cooking time: 30 mins | Total time: 1hr + 1 hr resting time
Cuisine: Karnataka -Indian | Category: Breakfast

Ingredients:
Ghee/oil, to fry poli

for outer layer/dough:
1 cup fine chiroti rava  or Flour(Maida)
a pinch of Salt
1 1/2 tsp ghee, melted
1/3 cup Oil, to soak the dough
Water, to mix the dough

for spicy Dal filling:
1 cup Chana dal
1/3 cup grated fresh Coconut
3-4 Green chillies,slitted
1/3 tbsp Coriander leaves,chopped
Salt to taste

Method:
for filling:
  • Pressure cook the chana dal for 3 whistles and keep it aside.Drain the water and let the dal cool completely.
  • Grind cooked and drained chana dal, grated fresh coconut, coriander leaves, green chillies and salt to a coarse paste.Do not add water while grinding.But if your paste turns liquidy stir the mixture on  the stove until it becomes thick.
for outer layer/Dough:
  • Mix chiroti rava or flour(maida) with a pinch of salt and ghee and add water to it and knead in to a very smooth dough. The consistency of the dough should be very loose than the regular roti dough, this is the most important step otherwise you will not get softer polis.
  • Now using your fist hit the dough for few mins to get the softer dough or lift the dough and drop it hard into the bowl and repeat it until the dough becomes very smooth.
  • Now place this dough in a deep vessel and pour oil over it until the dough is completely soaked in oil. Let the dough rest for a minimum of 1 hr and upto 2 hrs. Drain the excess oil and use it for other purpose. 
to prepare spicy Dal Poli:
  • Cut the holige paper into a round and place it on the rolling stone which we use to roll rotis. Grease holige paper or banana leaf with oil.
  • Divide the mixture into 8-10 portions and prepare big lemon sized balls out of it.
  • Pinch a small amla sized dough(the amount of dough should be half the quantity of the filling you take) and flatten it a bit using your hands as shown in the pics and place one ball of filling and seal it properly from all the edges like how we do for parathas.Now flatten it slowly with hands to get 5" diameter circle. Alternatively you can roll it like parathas like how we do in between two greased transparent sheets. Adapt the method which ever is convenient for you.
  • Now place the holige paper along with the poli(with poli facing down the tawa)on a hot tawa over the low flame.
  • Let it sit for 20-30 seconds and now peel the holige paper gently scraping it along the edges using a spatula. See the pics to get a clear understanding of it. 
  • Now fry it on both sides applying ghee/oil until light golden in color. Pour the ghee/oil over it, do not try to spread ghee over the poli while frying it. Do not fry it for long time, it will make the polis bit hard so quickly remove it from stove when you get to see the brown patches on it.
  • Repeat the process for making all polis, smear the holige paper liberally with oil and follow the same procedure. 
Serve the spicy Dal poli/karam bobbatlu hot with coconut chutney.

Notes:
  1. The amount of dough should be half the quantity of filling for each poli otherwise the dough would be more and makes the polis bland and hard at the edges as the dough gets accumulated in the edges.
  2. You can use toor dal instead of chana dal and follow the same recipe.In that case boil the toor dal on stove top until the dal is cooked.Take care that the dal should not be mush, it should hold its shape and also it should be cooked right.
  3. You can either pat it or roll it like parathas in between two greased polythene sheets.
  4. If you want a less calorie version, do not soak the dough in oil and instead smear oil on top of the dough and let it rest and then roll the dal polis like we do for parathas by sprinkling some flour. But these are not soft as compared to the ones which are prepared by dunking the dough in oil. But it tastes delicious too.
  5. I use holige paper or the plastic banana leaf which we get in markets. If you do not get them use a banana leaf instead.
spicy chana dal holige

Monday, November 21, 2016

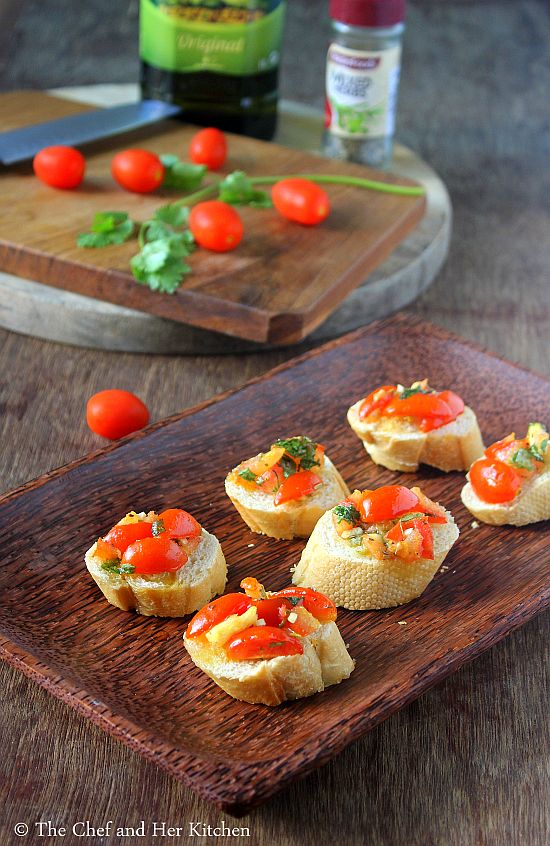
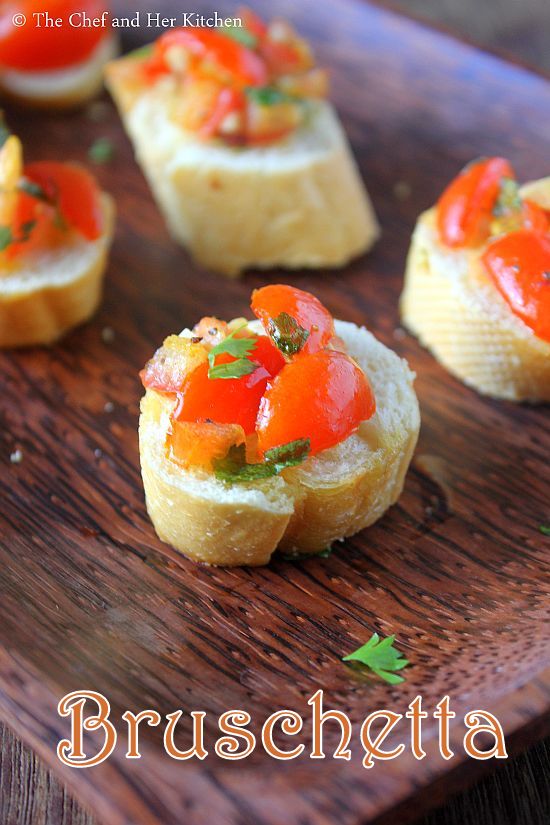
Tomato Bruschetta Recipe | Easy Bruschetta Recipes

tomato bruschetta
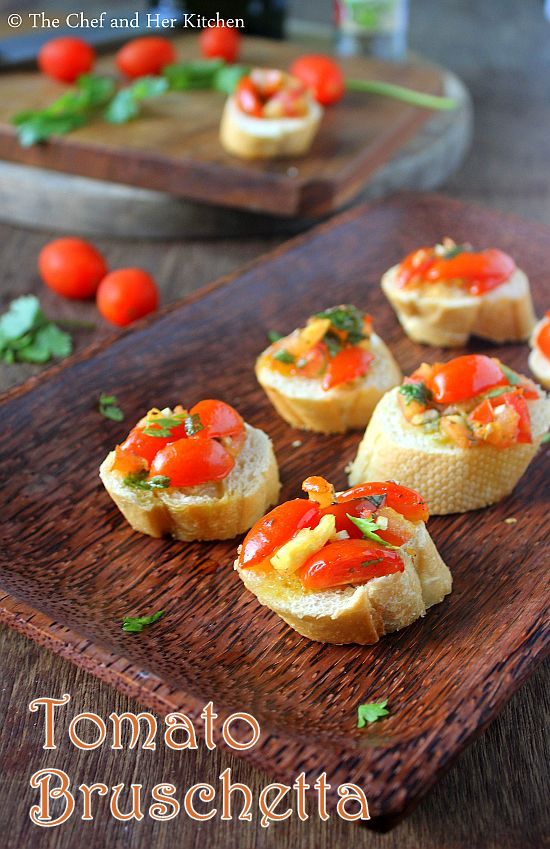
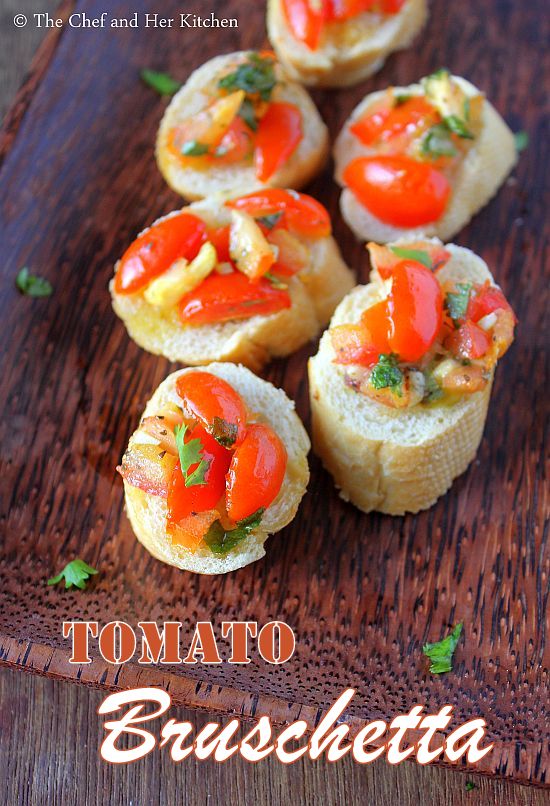
'Bruschetta' should be actually pronounced as 'Bru-sket-ta'  but I often hear it being pronounced as 'bru-shet-ta'.It is a classic Italian appetiser which is very simple and quick to prepare that can jazz up your parties for sure.The addition of fresh basil leaves, garlic and EVOO  to the tomatoes takes it to the new level.
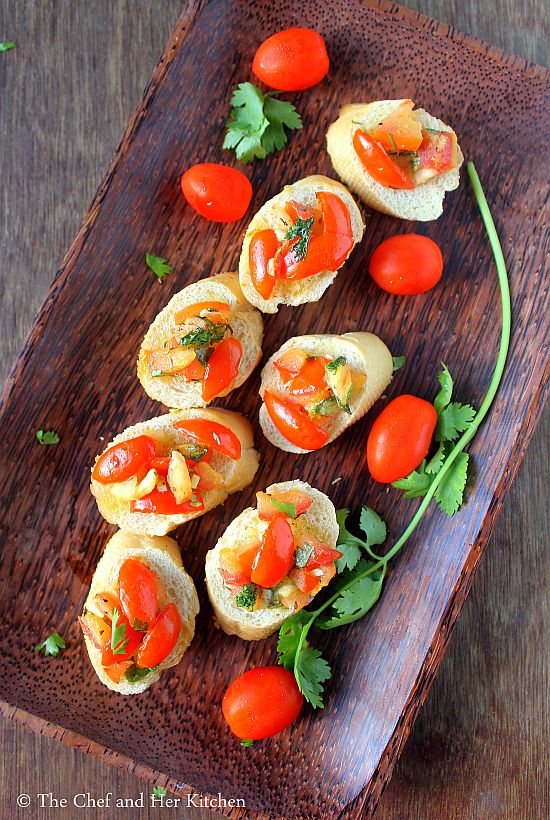
tomato bruschetta

tomato bruschetta
Whenever the theme is Italian cooking I always would choose either garlic bread,Garlic Bread Exotica or this tomato bruschetta as a starter as these are very quick to prepare and can be served to a large crowd with ease. You can even have this tomato bruschetta with a Soup for a light and comforting dinner too or serve it as an evening snack in your tea parties, it fits the bill anywhere!!
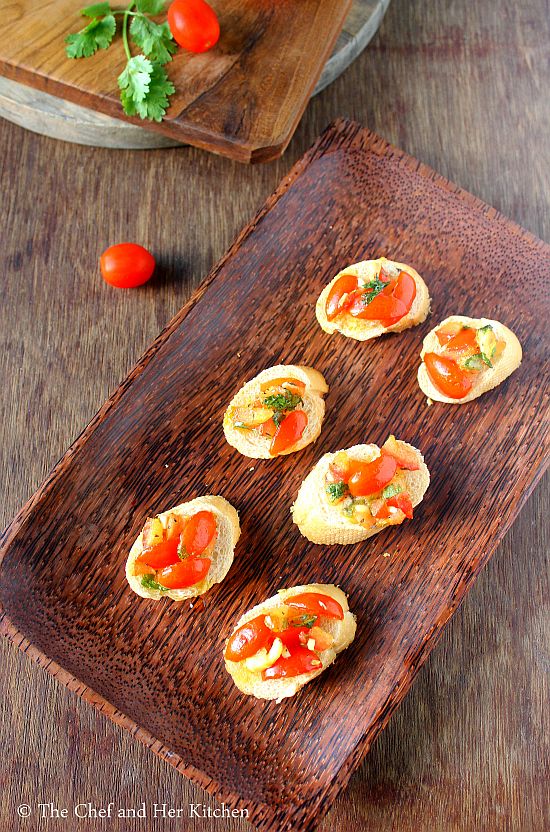
tomato bruschetta

tomato bruschetta
Check out other Italian recipes in my blog here:
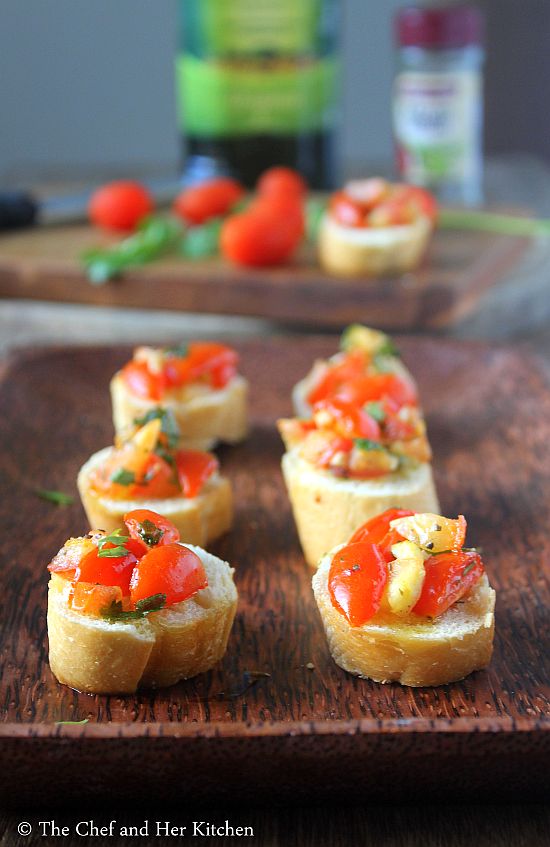
bruschetta
Tomato Bruschetta Recipe:
Serves: 3-4 | Author: Prathibha
Prep time: 10 mins | Baking time: 10 mins | Total time: 20 mins
Cuisine: Italian | Category: Appetizers/Snacks

Ingredients:
1 French loaf/Baguette
2 medium Red Tomatoes,finely chopped
12-15 Cherry Tomatoes, sliced into 4 pieces
8-10 Basil leaves, torn roughly(I used dried herbs and Coriander leaves isntead)
2-3 tbsp Extra Virgin Olive Oil(EVOO)
2 pods Garlic,grated
1 tsp Lemon juice or Balsamic Vinegar
1/2 tsp Black Pepper powder
Salt, to taste
Extra Virgin Oil, to drizzle

Method:
  • Make a cross mark on the tomatoes and blanch them in hot water and remove the skin and chop them into pieces. You can skip this step and just remove the seeds and chop the tomatoes into small pieces. Cut the cherry tomatoes into 4 pieces lengthwise and keep them aside.
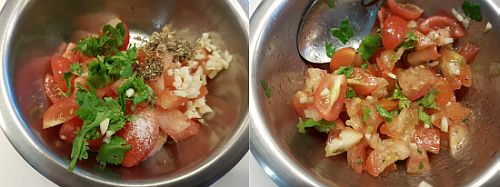
  • In a bowl mix chopped tomatoes, cherry tomatoes,torn basil leaves, grated garlic, black pepper powder, salt and add lemon juice(or Balsamic Vinegar) and Extra Virgin Olive oil and mix nicely and leave the mixture for an hour.
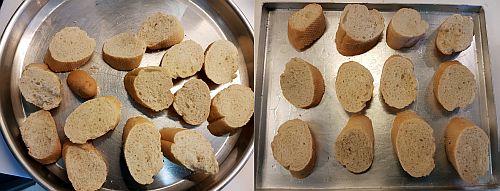
  • Cut the french loaf diagonally  to get pieces of 3/4"thickness.
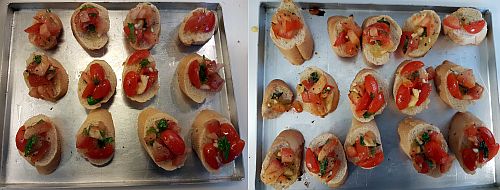
  • Place a big tbsp of tomato mixture on top of each piece and bake it in preheated oven for 7-8 mins until the tomatoes wilt slightly.Alternatively you can bake the slices(drizzled with EVOO) first in oven or roast them on tawa applying butter or EVOO and then rub one side of the toasted bread with a garlic pod and place the tomato mixture on it.
Drizzle more extra virgin olive oil on top and Serve.

Notes:
  1. Ideally it is suggested to roast them in preheated oven until they are slightly crisp and one side of the roasted baguette slice is rubbed with a garlic pod to infuse more flavor into the slice.Then place the tomato filling on top and drizzle more EVOO on top.
  2. I did not have basil at that moment and hence I had used dried Italian herbs and coriander leaves in place of basil.But I highly recommend to use fresh Italian basil for the recipe.
  3. The addition of cherry tomatoes is optional,but it adds a nice look for the bruschetta. You can even add colored cherry tomatoes and skip the big tomatoes completely.
  4. Balsamic vinegar adds a nice taste to it, if you have it add it otherwise replace it with lemon juice or vinegar or you can avoid it if you do not like it more tang.
  5. You can even add few bites of buffalo mozarella cheese or feta cheese or paneer in the tomato  filling.
tomato bruschetta

Technorati Tags:

Friday, November 18, 2016

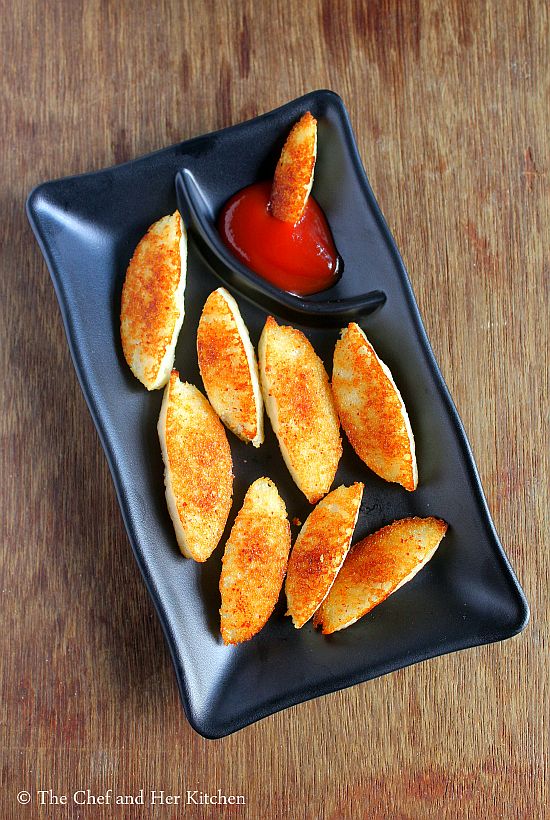
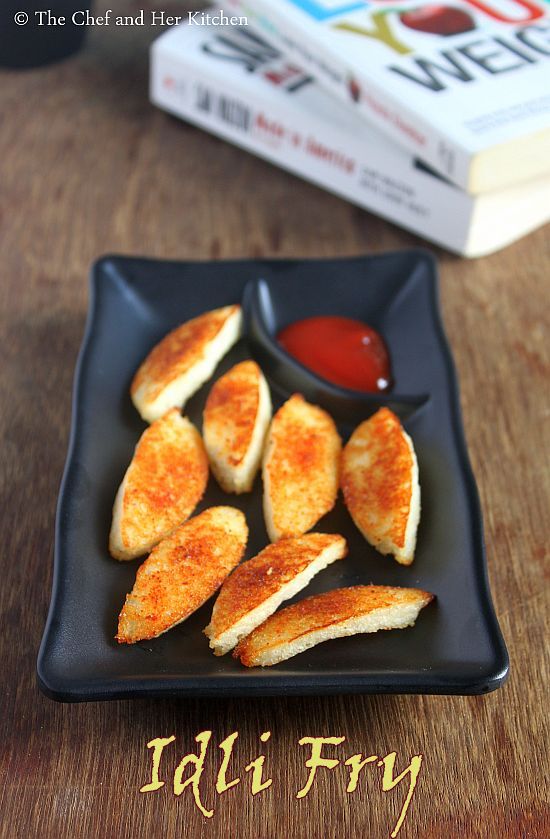
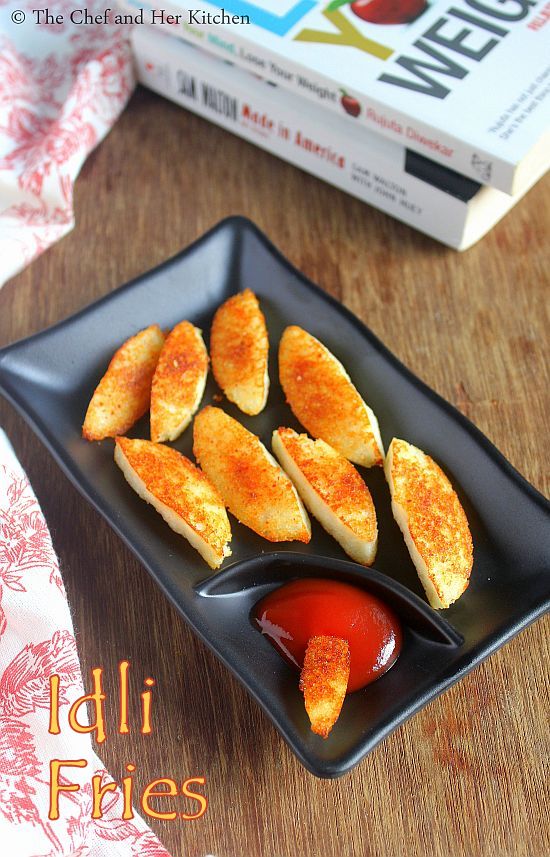
Idli Fries | Baked Idli Fries | Idli Fry Recipe

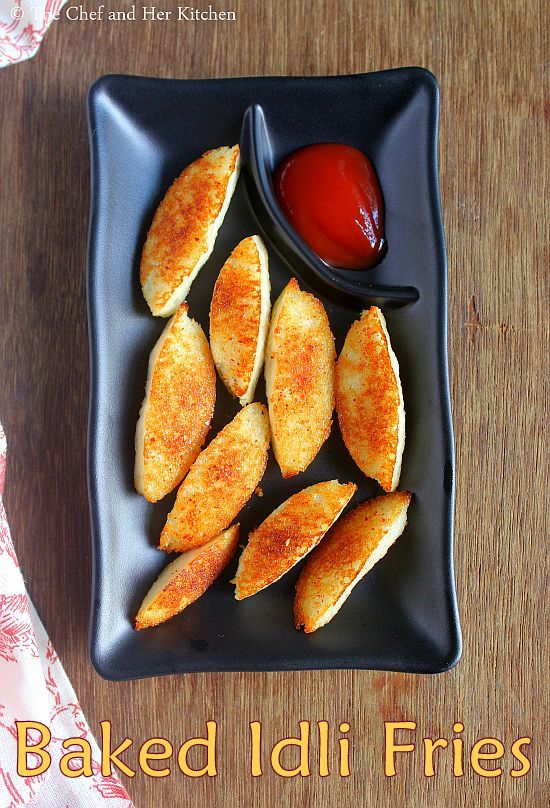
baked idli fries
Idli is a very commonly prepared breakfast in most of the south Indian households. Idli is so verstaile that one can make various recipes with the left over Idlis like Idli fries, Dahi Idli,Tawa Idli, Idli Upma, Chili Idli, Cocktail Idlis, Kaima Idli, Idli Manchurian etc. We usually would not have left over Idlis at my place but sometimes I make few additional Idlis just to turn them into simple snacks for the evening. 
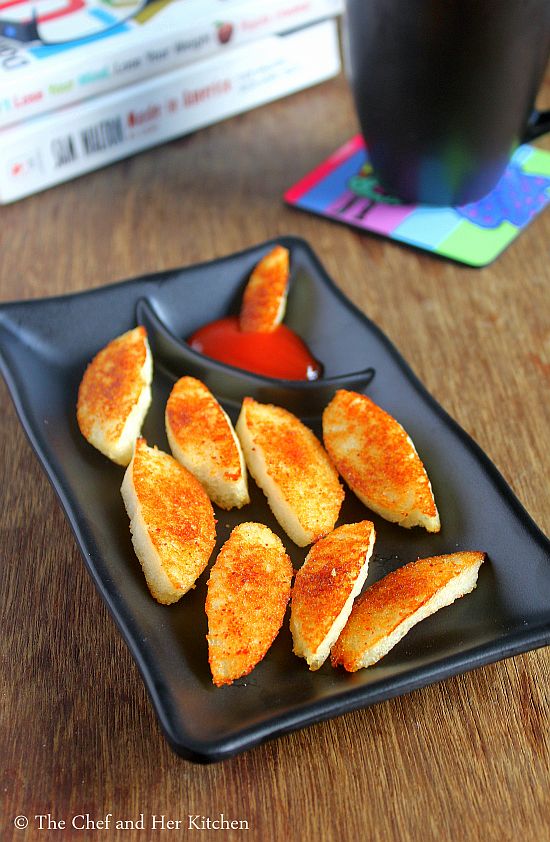
idli fries

idli fries
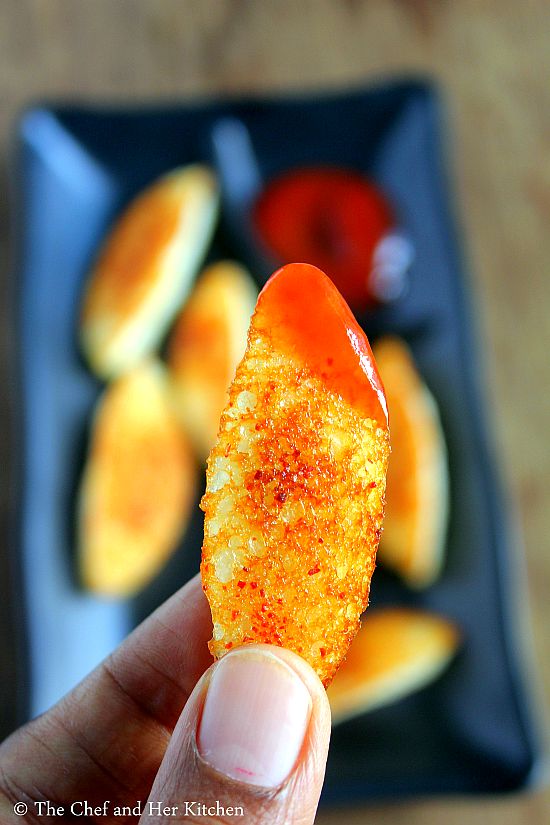
Coming to today's post, I somehow never liked the idea of deep frying the Idlis for obvious reasons.Also when one can make delicious guilt free Oven baked fries why should I even think of frying it in oil and consume unnecessarily calories. But if you do not bother to add few more calories , please go ahead and deep fry them too, they taste delicious. But I would confess that these Oven baked Idli fries are delicious too, so do not under estimate them. Next time you have few left over Idlis, do give this recipe a try and I am sure you would end up making it often.
idli fries
Check out other recipes here which can be prepared using left over Idlis:
idli fry
Baked Idli Fries Recipe:
Serves 2 | Author: Prathibha
Prep time: 5 mins | Baking time: 15 mins | Total time: 20 mins
Cuisine: South Indian | Category: Snacks

Ingredients:
4-5 left over Idlis
Red Chili powder or Idli Chili Powder(Milgai Podi), to sprinkle
Salt, to taste
Oil, to coat the idlis

Method:
  • Refrigerate the left over Idlis for a couple of hours or you can even use left over idlis which sat for a couple of hours at room temperature for this recipe.
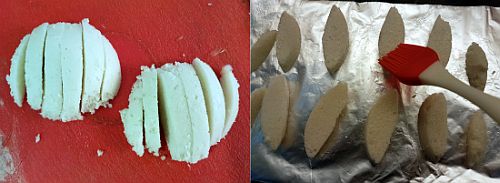
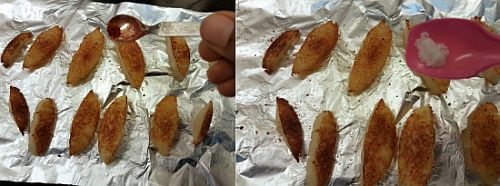
  • Cut the Idlis into wedges like how it shown in the picture.Apply Oil evenly on both the sides using a brush.
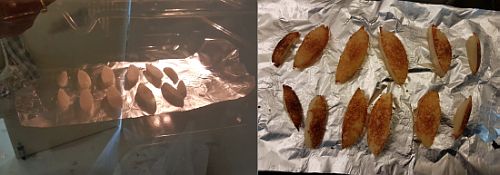
  • Line the Baking tray with aluminium foil and arrange the Idli wedges in a single layer and bake it in a preheated oven at 160 degrees for 15-20 mins until they turn golden brown in color. You can even turn them to the other side half the way and bake on the other side as well, I usually bake it one side until they turn golden brown.
Serve the Idli Fries hot with Tomato sauce or Coconut Chutney or Tomato Chutney.

Notes:
  1. You can deep fry the idlis instead of baking them or you can even shallow fry them in a flat tawa. If you are deep frying them make sure that you refrigerate the idlis otherwise they might start breaking up in oil.
  2. One can follow this process and use them for Chili Idli,Tawa Idli or Kaima Idli for a guilt free version.
  3. You can even sprinkle chaat masala or dunk the crispy idli fries in sambar and eat.
idli fries
 
back to top