Monday, March 27, 2017

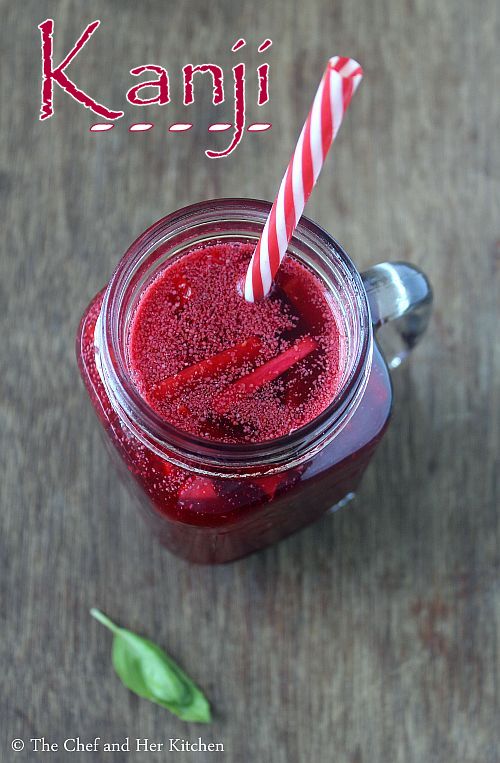
Gajar ki Kanji | Carrot Kanji Recipe

kanji
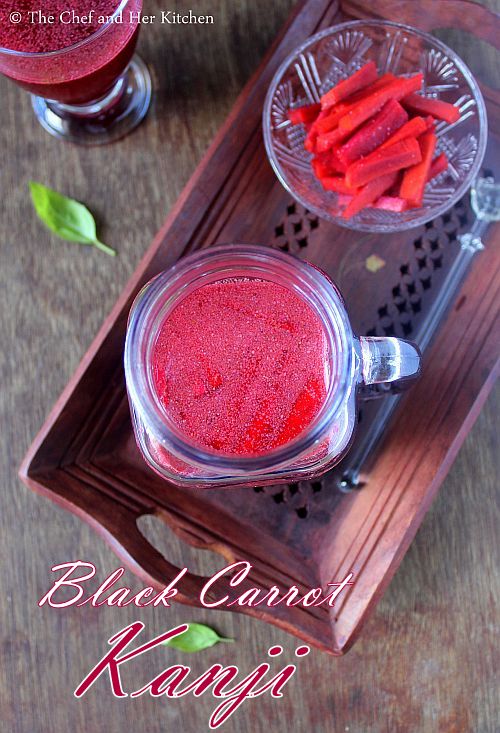
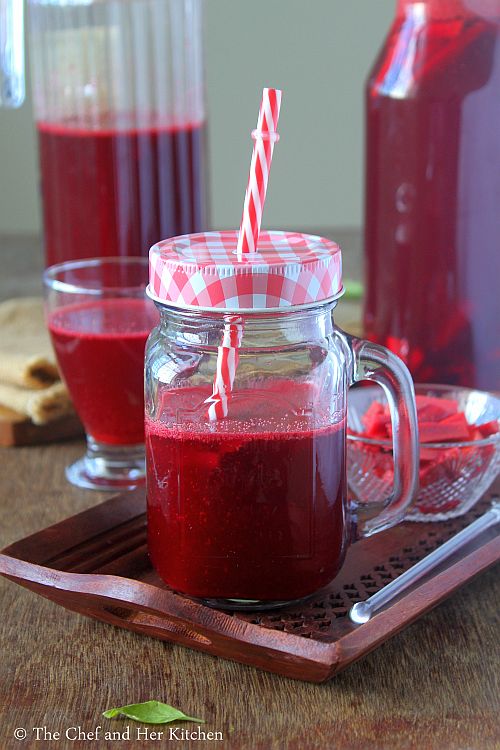
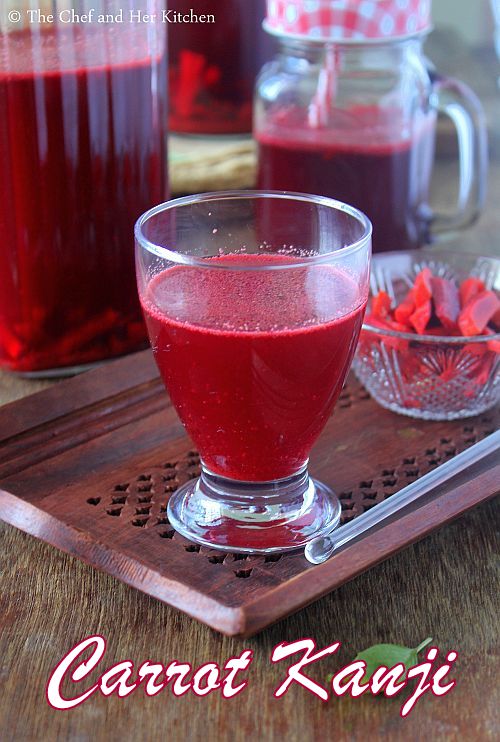
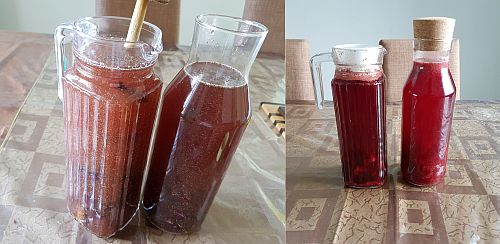
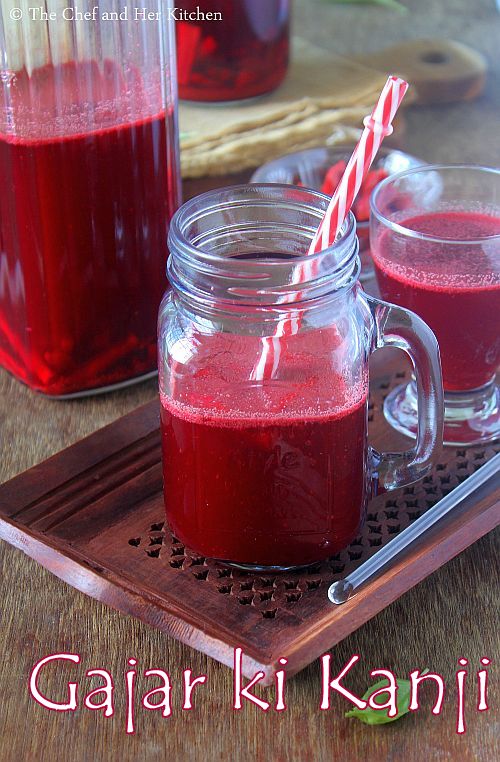
Gajar ki Kanji or Carrot Kanji recipe with step by step photos.Kaali gajar ki kanji is a fermented drink made with purple/black carrots during the winters in North India. Kanji is a traditional drink of Punjab which is spicy,sour and pungent at the same time.Not everyone likes it for the first time, it is an acquired taste but I just loved the drink the very first time I tried.It is a very quick recipe to prepare but takes time to ferment roughly 3-5 days based on the climatic conditions at your place.The ingredients used in the recipe are fairly simple - mustard seeds, red chili powder,salt and water. Mustard seed powder when fermented adds a nice pungent taste to the drink.Kanji is a probiotic drink which is good for your gut flora and it is usually taken during winters in the North to keep the body warm.It can be served as an appetizer or along with your meals.
black carrots
carrot kanji
I got introduced to this drink by a punjabi neighbor of mine when we were staying in Mumbai. I loved the taste of the drink the moment I had, it was something different and unique for my taste buds and I instantly fell in love with it. Later when she described the process of preparing it my curiosity began more.She had prepared it with the regular carrots and beetroot as the purple carrots are not available in Mumbai. I somehow was never confident to prepare it as the fermentation process using the natural sun light was something which I was not confident about.But when I spotted these purple carrots in Singapore, I knew that I would prepare this Kanji for sure.
carrot kanji
black carrot kanji
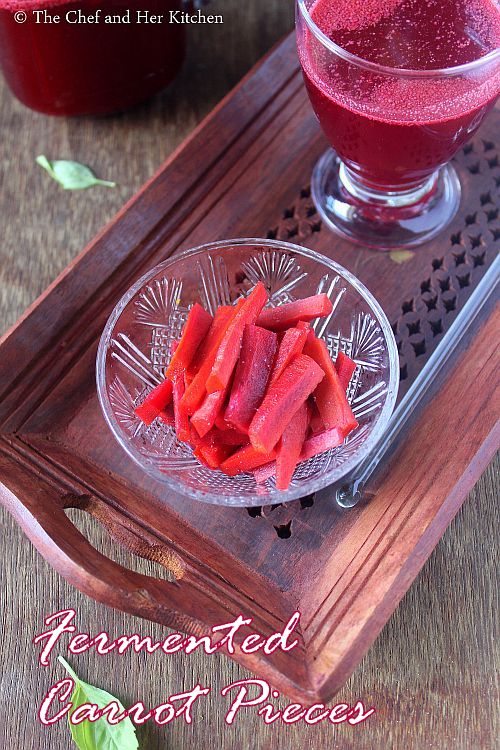
Surprisingly, though TH stayed in Delhi through out his education he never had this drink and hence it was new to him.I am glad that I tried it on my own, we just loved this drink and had good kanji time daily for a few days until the kanji lasted.The carrot batons fermented in the kanji was a great accompaniment along with our meals, it had the sour and slight fermented taste which was delicious.
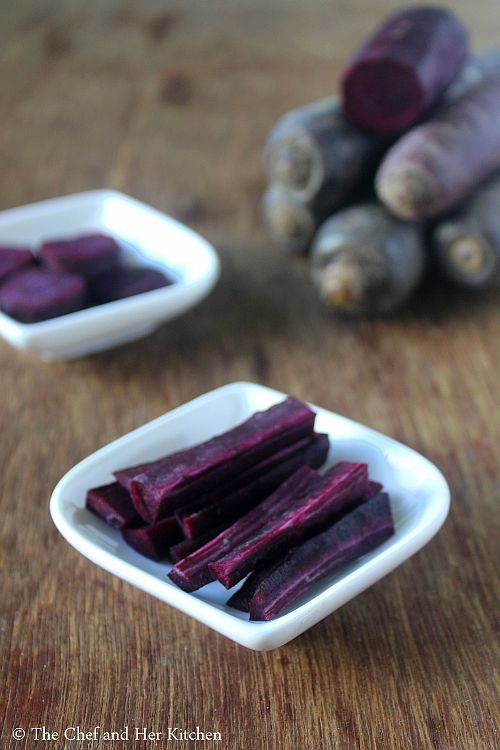
purple carrots
gajar ki kanji
I was planning to post this recipe for Holi but my travel plans had kept me busy and hence I could not post it.Anyways, better late than never I am posting my new favorite drink-Kanji recipe.I could not control taking photos of these lovely colored Kanji and hence posting so many pictures of it.
carrot kanji

carrot kanji
Check out Kaali Gajar ki Kanji Recipe with step by step photos here:
Kaali Gajar ki Kanji | Carrot Kanji Recipe:
shelf life: 3-4 weeks | Author: Prathibha
Prep time: 10 mins | Fermentation time: 3-4 days | Total time: 3 days
Cuisine: North Indian | Category: Beverages

Ingredients:
4-5 large Black/Purple Carrots( or 4 large Carrot and 1 medium Beetroot)
2 liters Water
1-1.5 tsp Red chili powder
2.5-3 tbsp Mustard powder
2 tsp Black salt
Salt,to taste

Method:
  • Sterilize the glass/ceramic jars and let them dry and keep them ready.
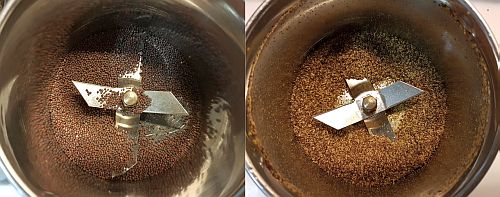
  • Dry grind the mustard seeds(roughly 2.5 tbsp) and keep the powder ready.
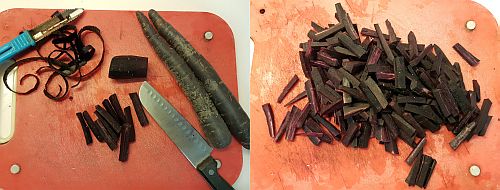
  • Wash and wipe the purple carrots(or beetroots and regular carrots) and peel them and cut into 1 inch long thin batons as shown in the picture.
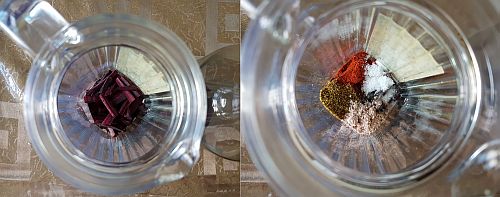
  • Divide the cut carrots(and beetroot pieces if using regular carrots) into the jars according to the size of the jar used by you.
  • Add red chili powder, mustard powder, black salt and required amount of regular salt to the jars and pour water to the rim and mix it nicely.Taste the liquid and add more salt or red chili powder if needed.
  • Cover it with the lid or muslin cloth and keep it in a place where it gets nice sun light.
  • You need to keep it in sun for 3-4 days by mixing the liquid daily using a clean and dry long wooden spoon/spatula.
  • Once the drink starts tasting sour(it usually may start on 3 rd day) which indicates that the kanji is ready to be served.If it is not sour continue to keep for a day or more.The fermentation process differ from place to place based on the climatic conditions of the place.
  • Refrigerate it and serve it either chilled or at room temperature.Strain the carrot pieces and the kanji can be stored until a month in the refrigerator.
You can strain the carrot pieces from the liquid and serve it as a salad or pickle with your regular meal, it tastes quite nice!

Notes:
  1. I have used purple/black carrots in the recipe.One can easily make it with the regular carrots and beetroot added for the color.
  2. You can even add turnip pieces in the drink.
  3. Adjust the amount of red chili powder and black salt according to your taste buds.Some like it spicy and some like it sour,so add accordingly.
  4. You can dip urad dal vadas in the kanji to make flavorful kanji vadas. The vadas absorb the flavors of kanji and turn sour and tastes absolutely delicious, which is a delicacy from the North and Rajasthan.
  5. You can store it in refrigerator for upto a month.Strain the carrot pieces and serve it as a salad or pickle along with your meals.
  6. You can jazz up the raithas and dips with the finely chopped fermented bits of these carrots, it takes them to the new level.Also you can use it as a pickled vegetable along with lettuce,pickled cucumbers in the wraps.

Thursday, March 23, 2017

Bhel Puri Recipe | Mumbai Style Bhel Puri

bhel puri
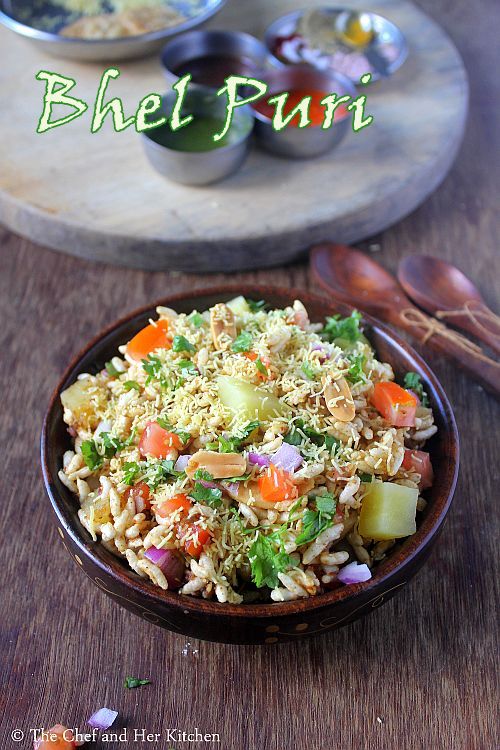
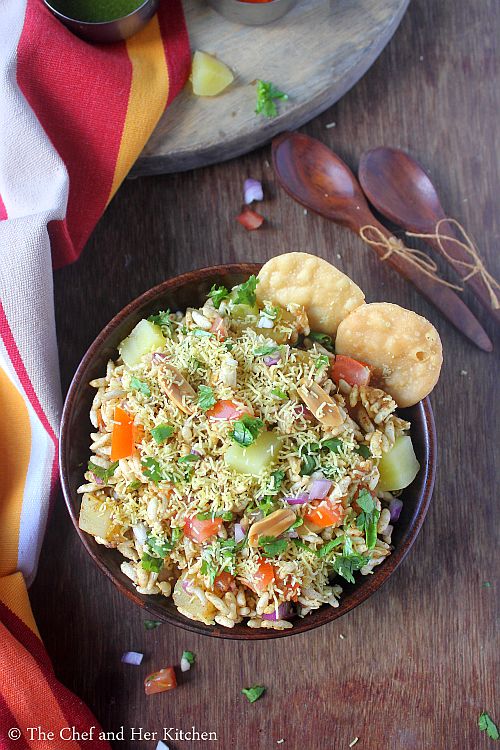
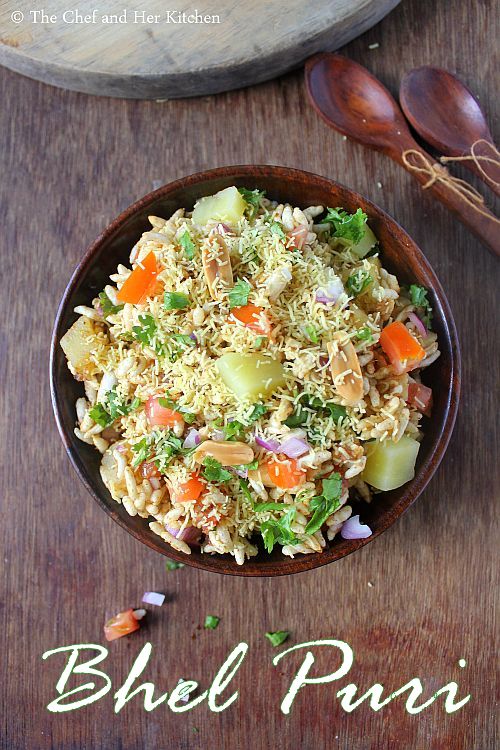
Bhel puri is one of the most popular chaats that is available in various variations all over India. There are several versions like Sookha Bhel puri, Mumbai style Bhel Puri, Delhi style Bhel Puri, kolkata style Jhalmuri, Karnataka style Churmuri, Beach style Bhel puri to name a few. I love all the variations as everything tastes good on its own.Today I am posting a typical Mumbai style Bhel puri and whats makes it different from the typical Delhi style Bhel puri is the addition of Lahsun(Garlic) Chutney in Mumbai style Bhel puri.
mumbai style bhel puri
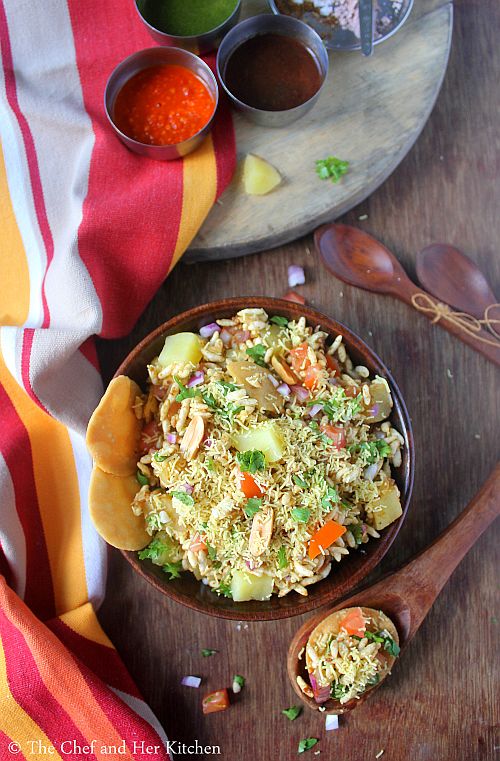
In Mumbai you find these Bhel puri- Sev Puri waala, Sandwich waala in every nook and corner of the city. Though I was bit hesitant to try at the road side chaat waalas, I have tried various chaats from many famous chaatwalas and loved the taste of it.I have already posted a dry version of Bhel puri known as Sookha Bhel puri in case you want to check it out.There are no hard and fast rules for the addition of ingredients in the bhel puri, one can prepare according to their personal preference.
mumbai style bhel puri

mumbai style bhel puri
If you love chaats, check out few other chaat recipes here in my blog:
Serves 2 | Author: Prathibha
Prep time: 10 mins | Cooking time: 10 mins | Total time: 20 mins
Cuisine: North Indian | Category: Snacks/Chaats

Ingredients:
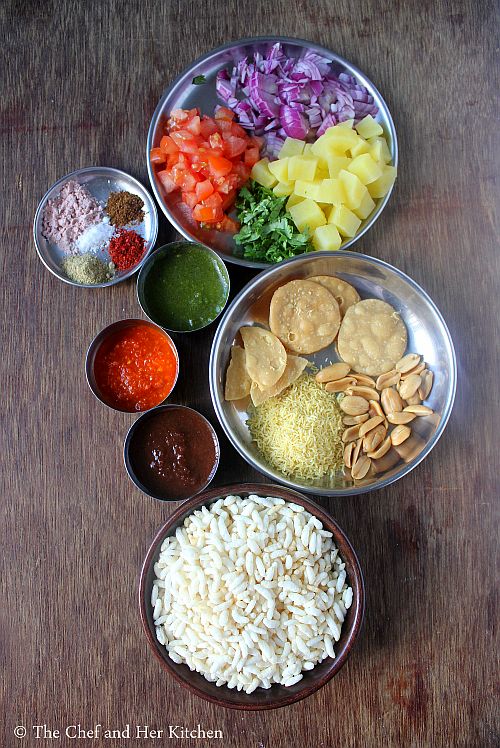
2.5 cups Puffed Rice
1.5-2 tbsp Green Chutney
1-1.5 tbsp Lahsun(Garlic) Chutney(recipe follows)
2-3 tbsp roasted Peanuts
1/3 cup fine Sev
8-10 Papdis,slightly crushed
1 large Potato, boiled,peeled and diced
1 small Onion, finely chopped
1 Tomato, finely chopped
2-3 tbsp chopped Coriander leaves
3/4 tsp Red chili powder
1 tsp roasted Cumin powder
1 tsp Chaat masala
Salt,to taste

for Garlic Chutney:
1 whole Garlic
2 tbsp Red chili powder
juice of 1/2 Lemon
Salt to taste

Method:
to prepare Garlic(Lehsun) chutney:
  • Separate the garlic cloves and peel the skin and blend with red chili powder,lemon juice,salt and 2-3 tbsp of water to a smooth paste.You can refrigerate this chutney and use it upto 15-20 days.
to prepare Bhel puri:
  • If the puffed rice is not crispy heat it in a kadai on low flame until they turn crisp,switch off the flame and keep it aside.
  • Keep all the ingredients like chopped vegetables, chutnies and masalas handy before you proceed to make the bhel puri.
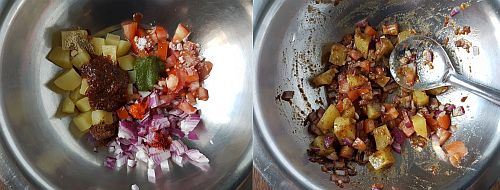
  • In a large bowl add finely chopped onions, boiled potato, tomato, coriander leaves(reserve few for garnish), green chutney, meeta chutney, garlic chutney, salt, red chili powder, cumin powder and chaat masala and mix nicely until everything is mixed.
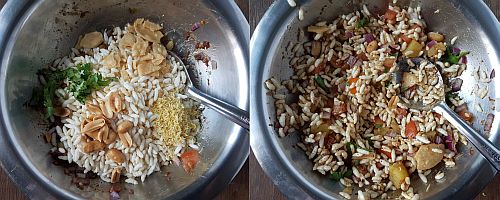
  • Now add crushed papdis and roasted peanuts and give a stir and then add the puffed rice and mix nicely and serve it in serving bowls immediately.Taste the bhel puri and adjust the seasoning accordingly.
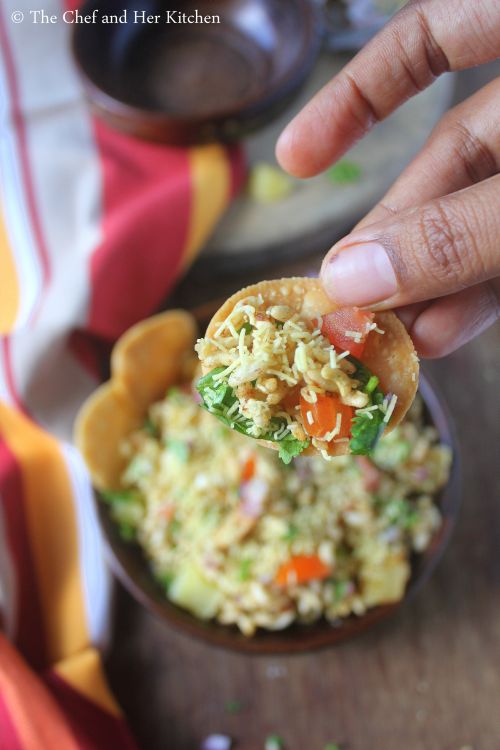
Garnish with generous amount of sev and coriander leaves and serve with papdis.You can use papdis to eat the bhel like a spoon.

Notes:
  1. Add papdis, peanuts and puffed rice to the vegetable mixture and mix just before serving otherwise it will turn soggy.
  2. There are no hard and fast rules for the quantity of ingredients in the recipe, you can play around according to your taste buds.
  3. You can even add few pomogrenate  kernels while garnishing.
  4. The addition of Lahsun chutney(Garlic chutney) makes it typical Mumbai style Bhel, you can avoid it to make a North Indian Delhi style Bhel puri.
  5. You can even add a handful of steamed moong sprouts or boiled kala chana to the bhel for a variation.
  6. If you like it more tangy you can add a bit of lemon juice while preparing the bhel puri.
bhel puri

Monday, March 20, 2017

Spinach Corn Sandwich | Grilled Corn and Spinach Sandwich Recipe

cheesy spinach corn sandwich
Grilled Corn and spinach sandwich recipe with step by step photos.I always look for various sandwich recipes as they are filling and can be made as a snack or for breakfast too,it can be easily packed for the lunch box as well.Though I have been preparing this sandwich for ages, I never got to post it in my blog.Better late than never , I am finally able to post this simple and delicious Sandwich recipe in my blog.
cheesy spinach corn sandwich
I love the grilled sandwich varieties where as TH likes the fresh sandwich varieties and few recipes suit for both the kinds. I make the fresh sandwich version for him and I prepare the grilled version for myself.Mumbai style Vegetable Sandwich is one example where one can eat it fresh or grilled and also this Spinach-Corn Sandwich can be done the same.Though taste wise both the fresh/grilled sandwiches taste nice I prefer the grilled version as I am inclined more towards the buttery cheesy hot grilled sandwich.
grilled spinach and corn sandwich
Spinach Corn sandwich is available in most of the coffee shops and pairs nicely with a cup of coffee or juice.You can serve this in a bite sized portions in your tea parties or it can be prepared like a open sandwich toast which makes a great appetizer for parties.The stuffing of the sandwich itself is so creamy that one can avoid the addition of cheese in the recipe but I do add cheese when I prepare it for my kiddo or for my guests.Also,I use mostly home made wheat bread for my sandwiches and I also prefer to add wheat flour instead of all purpose flour in the recipe for white sauce and I hardly find any difference when it comes to taste.Over all it is a healthy sandwich recipe(minus cheese) for adults and a wholesome Sandwich recipe for kids and even my three year old eats this sandwich without any complaints.
grilled corn and spinach sandwich
Check out other Sandwich recipes in my blog:
grilled corn and spinach sandwich
Here is how to make the grilled Spinach and Corn Sandwich Recipe.Do give a try!!
Spinach Corn Sandwich | Grilled Corn and Spinach Sandwich Recipe:

Serves 4 | Author: Prathibha
Prep time: 10 mins | Cooking time: 20 mins | Total time: 30 mins
Cuisine: Indian | Category: Snack/Breakfast

Ingredients:
8 slices Sandwich Bread(Wholewheat/Multigrain/Maida bread)
1/2 cup Cheese,grated
3/4 cup boiled Corn kernels
1.5 cups chopped Spinach
1 small Onion, finely chopped
2 Garlic cloves, finely chopped
1 tbsp All purpose flour(or wheat flour)
3/4 cup Milk
1 tsp Oregano(or Mixed Herbs)
1 tsp Red chili flakes
3/4 tsp Black/White Pepper powder
Salt, to taste
1 tbsp Olive oil or regular Oil
Butter, to spread

Method:
  • In a kadai heat regular/olive oil and add finely chopped garlic and fry for half a minute and then add finely chopped onions and fry well until they turn translucent.
  • Add chopped spinach and boiled corn kernels and fry for 4-5 minutes until the spinach wilts and gets cooked.
  • Now sprinkle the flour(or wheat flour) all over the mixture and mix nicely and fry for a minute or two.
  • Reduce the flame and add milk slowly by stirring continuously( to avoid the lumps formation) and continue cooking until the sauce thickens.You can add 1-2 tbsp cheese to the mixture and mix nicely.
  • Add salt, pepper, chili flakes and oregano and mix nicely and cook until the mixture becomes thick.Switch off the flame and let the mixture cool.
  • Apply Butter on one side of the bread and place 2-3 tbsp of stuffing and spread it nicely and sprinkle required amount of cheese and cover it with another butter sided bread slice and repeat the same for all the sandwiches.
  • Heat an electric grill or Toaster or tawa and add some butter on the griller/toaster/tawa and place the prepared sandwiches and apply another layer of butter on top and close it and grill/toast it until it turns brown. If you are doing on tawa you can fry it on both sides by pressing it nicely with the spatula for uniform color.
Serve it hot with Tomato Sauce.

Notes:
  1. The addition of cheese is optional as the white sauce itself is rich and creamy.
  2. This can be prepared as open sandwich or toast, place the mixture on the buttered bread,baguette and sprinkle cheese on top and place it in preheated oven and bake it for 6-8 mins until the cheese melts.It makes a great party appetizer.
  3. You can make Corn-Spinach Pasta by adding the boiled pasta to the same prepared mixture instead of making a sandwich.
  4. You can make Spinach-Babycorn sandwich by replacing corn with finely chopped babycorn in the recipe.
spinach and corn sandwich

Thursday, March 16, 2017

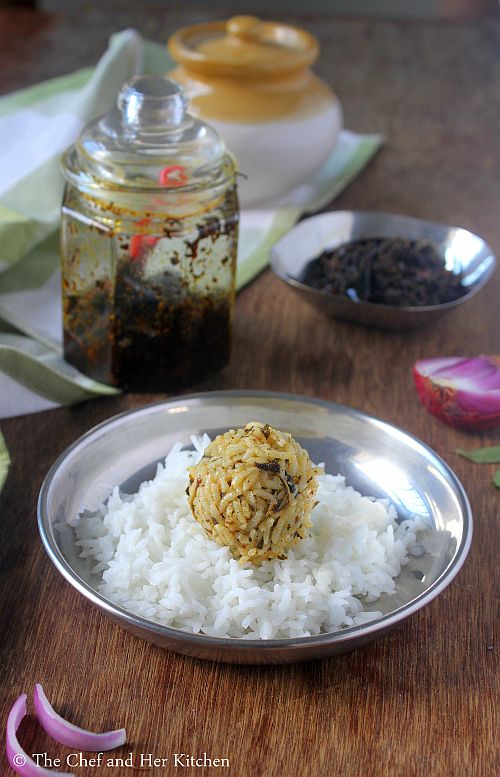
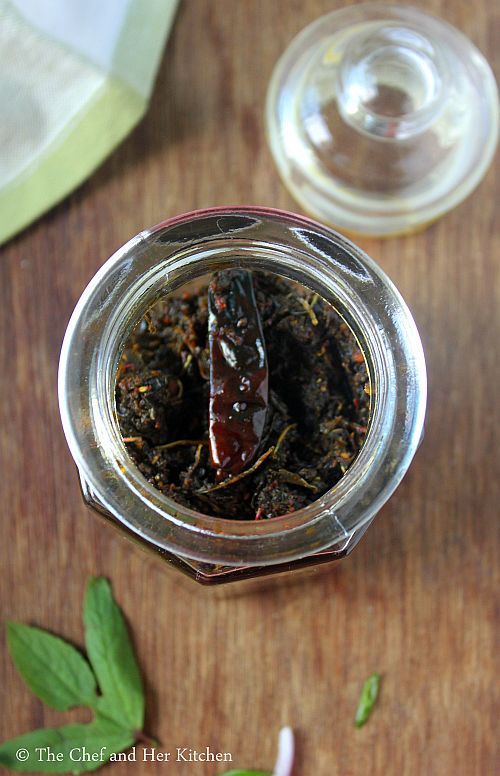
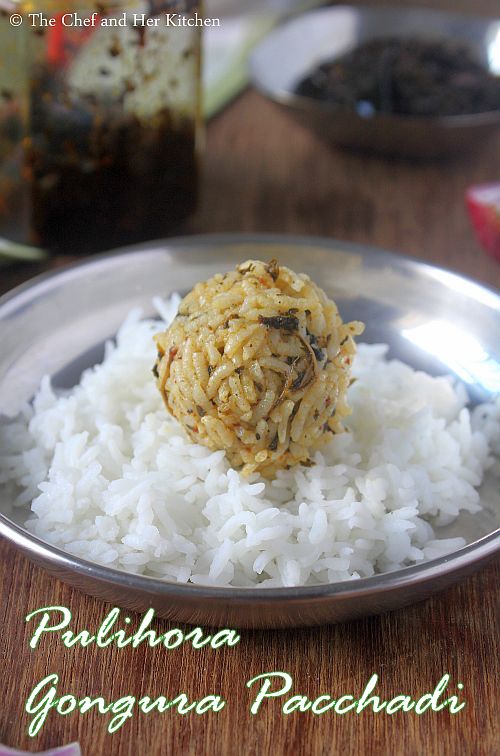
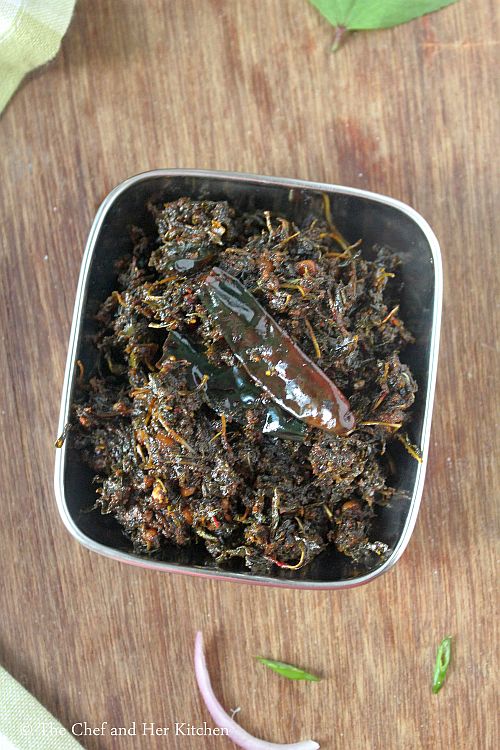
Pulihora Gongura Pacchadi | Pulihora Gongura Pickle Recipe

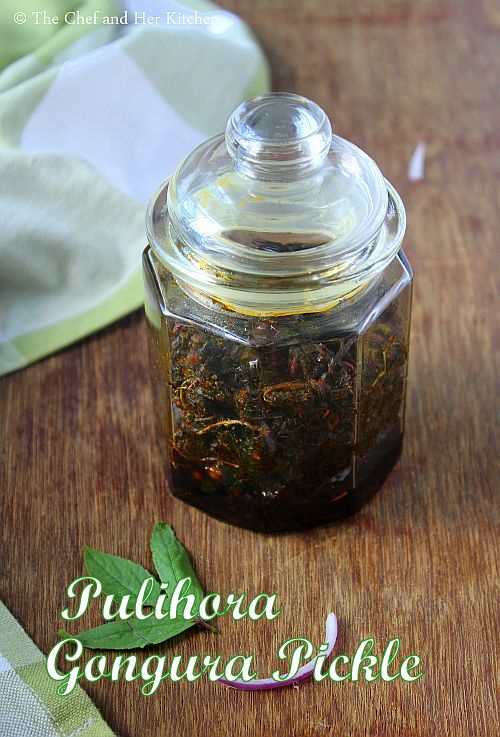
pulihora gongura pickle
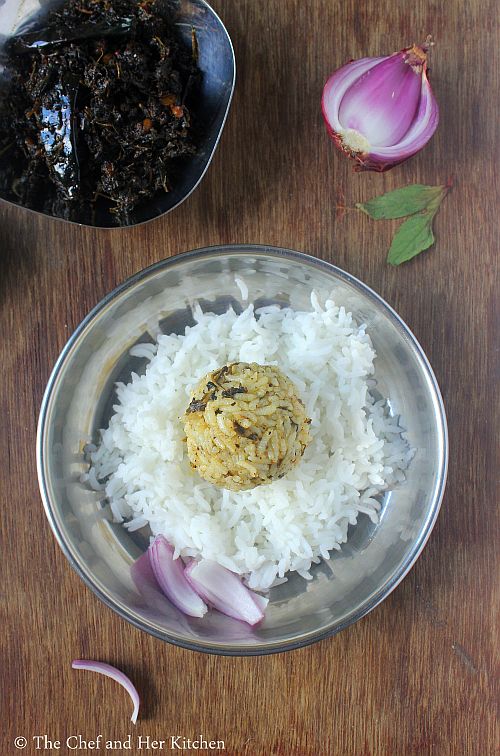
Andhra style pulihora gongura pacchadi recipe with step by step photos.Pickles or Pacchadis are an integral part of every Andhra meal.There are various varieties of pickles and pacchadis which can be prepared with various vegetables and greens.Gongura Pickle and Avakaya are the most famous pickle varieties of Andhra and is a favorite to many.Gongura pacchadi should be mixed with hot steamed rice with lots of ghee and raw onions, it tastes absolutely delicious.
pulihora gongura pickle
Andhra Gongura pickle needs no introduction and it is one of my favorite Andhra pickles,it is a must try if you visit any Andhra restaurant.But today I am posting a variation to the regular Gongura pickle - Pulihora Gongura Pickle, where the gongura pickle is prepared in a pulihora style. I have posted Gongura Pulihora already in my blog, which is a Gongura rice variety prepared in pulihora style and this is Pulihora Gongura Pacchadi which is a Gongura Pickle prepared using Pulihora tempering, so do not get confused by the similar names. Both the pickles taste lip smacking and both varieties taste great in its own way.
pulihora gongura pacchadi
 I also have posted a version of Gongura Pacchadi with Green Chilies and Gongura Pacchadi recipe using Red chllies which have less shelf life and should be consumed in a day or two
pulihora gongura pickle
Check out all Gongura recipes in my blog here:
pulihora gongura pickle
Here is how to make Andhra style Pulihora gongura pickle recipe with step by step photos.
Andhra style Pulihora Gongura Pacchadi Recipe:
Shelf life: 2-3 weeks | Author: Prathibha
Prep time: 15 mins | Cooking time: 30 mins | Total time: 45 mins
Cuisine: Andhra | Category: Pickles/Pacchadis

Ingredients:
1 large (or 2 medium) bunch of Red Sorrel leaves
1 small lemon sized Tamarind, soaked in water
1.5 tbsp Red chili powder
2-2.5 tsp Salt,approx
1 tsp Turmeric powder
1.5 tsp Mustard seeds
3/4 tsp Fenugreek seeds
2 tbsp Oil

to temper:
1/4 cup Oil
1 tsp Mustard seeds
1.5 tbsp Chana dal
1 tbsp Urad dal
4-5 Red chilies, torn
1/2 tsp Turmeric powder
1/4 tsp Asafoetida

Method:
  • Clean,wash and drain the water from the leaves and spread the leaves on a clean kitchen towel/cloth and let it dry under shade in the house for half day until the moisture dries up slightly from the leaves.
  • Soak tamarind and extract pulp from the tamarind and keep it ready.
  • Dry roast mustard seeds and fenugreek seeds separately and grind to a fine powder.
  • Heat 2 tbsp oil in a kadai/pan and add dried sorrel leaves and cook until the leaves soften a bit.If you have dried the leaves it will not become mushy while sauteing it, but that's okay it increases the shelf life of the pickle.But DO NOT add water while grinding the leaves.
  • Add red chili powder, salt and turmeric powder to the ground mustard seeds-fenugreek powder and grind to a fine powder.Add cooked sorrel leaves to it and grind it in mixie.If the leaves are not dried a bit it will turn to a powder,else it will become a paste.Keep all the ingredients ready for tempering.
  • Heat 1/4 cup oil in the same kadai and crackle mustard seeds and then add chana dal and urad dal and fry until the dals turn slight brown in color.Add red chilies and asafoetida and cook until the chilies are fried.
  • Add the tamarind pulp and turmeric powder and cook until the tamarind is thickened and oil starts floating on top.
  • Now add the ground sorrel paste and mix nicely and cook until the mixture leaves the oil at the edges.You can add more oil(by heating it separately) in between if you feel there is less oil.
  • Cool it and store it in a clean sterilized bottle and store it upto 2-3 weeks in refrigerator.
Serve it with hot steamed rice with ghee and onion.

Notes:
  1. The process of drying the leaves is optional, but I prefer that way as it increases the shelf life and can be stored in the refrigerator for upto 3 weeks.If you are making instant pacchadi and not looking for shelf life, you can prepare this with out drying the leaves and can be stored upto 2-3 days in refrigerator.
  2. If the leaves are dried for very long the leaves will not be able to be ground to a paste and will yield so many dry strands in the final chutney.So make sure you do not dry it completely,just drying for half day is enough.
  3. If you are using white sorrel leaves double the amount of tamarind used in the recipe as the white sorrel leaves are less sour in taste.
pulihora gongura pacchadi

Monday, March 13, 2017

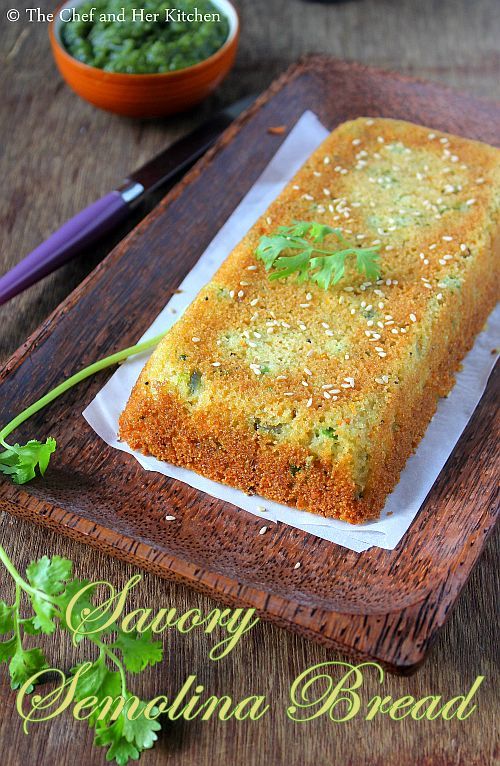
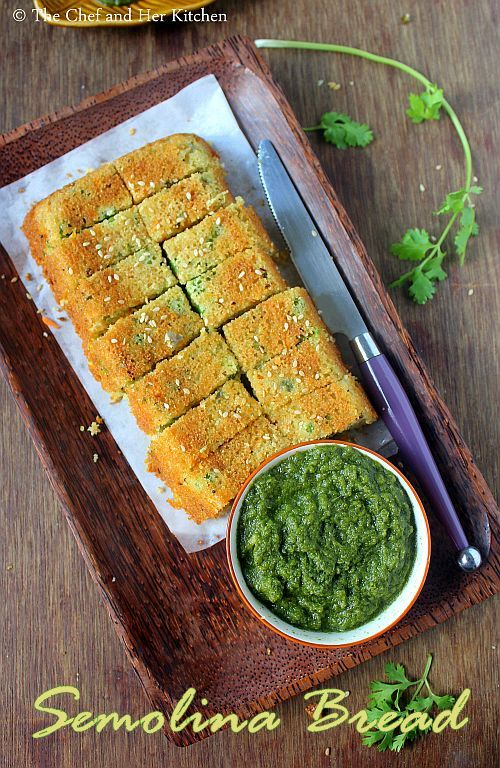
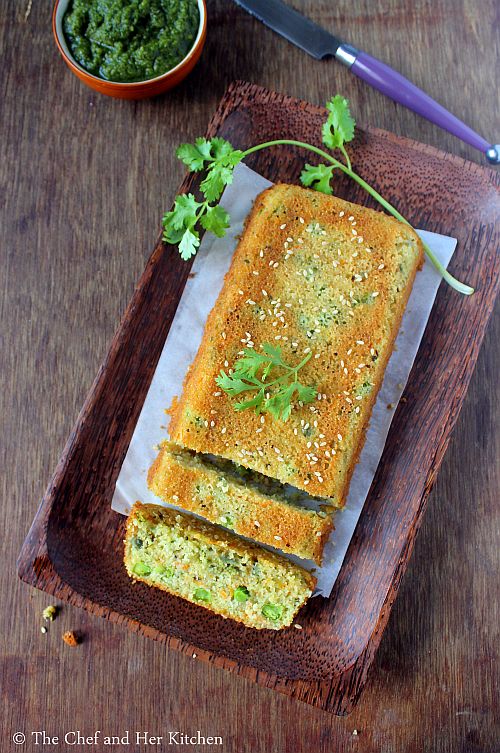
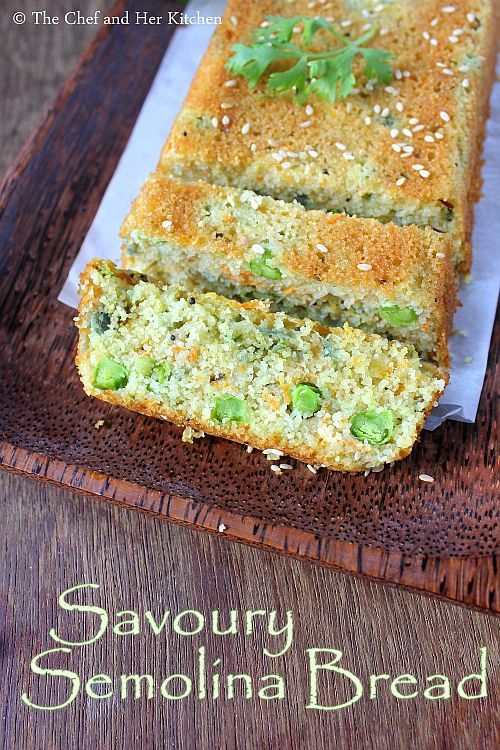
Savory Semolina Cake Recipe | Savoury Semolina Bread

savory semolina cake
There were days where I was glued to tv to watch few of my favorite shows of Nigella Lawson, Anjum Anand and Master Chef Australia.I had watched most of the episodes of various series of  Nigella Lawsons and jotted down all the recipes and few of Anjum Anand's recipes.Among all the recipes of Anjum Anand this Savory Semolina Cake caught my attention then because it is a very quick snack to prepare and it is very similar to Rava Idli but in a baked form, I liked that idea.Also, I feel this simple snack looks very exotic when it is served on your dining table and is perfect for simple tea time or high tea snack. You can even bake them in individual muffin cups to serve for your tea parties.I had prepared this snack many number of times from the time I stumbled upon this recipe in her show.
semolina bread
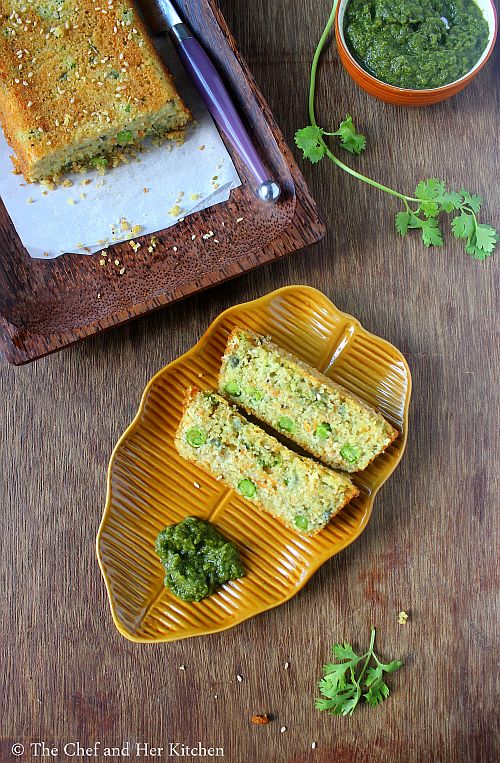
savory semolina cake
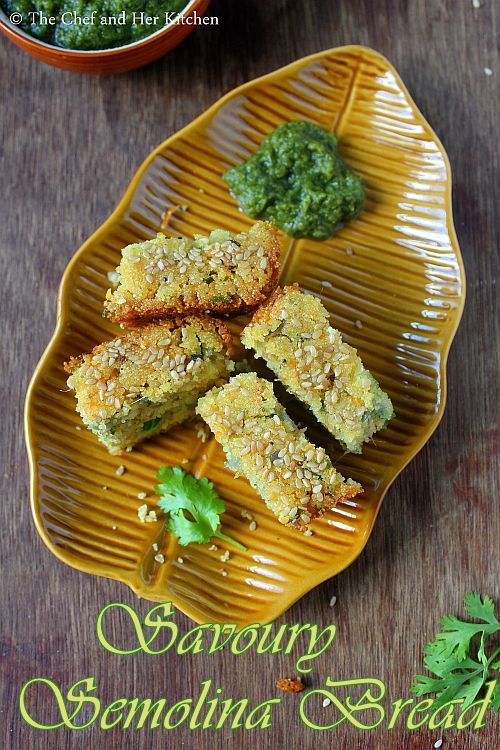
The recipe needs very basic ingredients from your pantry and the preparation process is quite simple and the only time taking part is during baking. Try this simple savory cake recipe in case if you have not tried it still, I am sure you will like it.It can be served with Green Chutney as an evening snack or for breakfast.
savoury semolina cake
Check out other savory snacks using bread in my blog:
savoury semolina bread
Savory Semolina Cake | Savoury Semlina Bread Recipe:
Serves 3-4 | Source: Anjum Anand-Author
Prep time: 15 mins | Baking time: 30-35 mins | Total time: 45 mins
Cuisine: Modern Gujarati | Category: Snacks/Breakfast

Ingredients:
1 cup Rawa/Sooji
1 cup sour Curd
1/2 cup Water
1/3 cup grated Carrot
1/3 cup fresh/frozen Green Peas
1 small Onion, finely chopped
1/4 cup chopped Coriander leaves
3/4" Ginger, grated
2 Green chilies, crushed to paste
2 tsp Sesame seeds
1/2 tsp Turmeric powder
3/4 tsp Baking soda
1/2 tsp Mustard seeds
3/4 tsp Cumin seeds
2-3 tbsp Oil
Salt,to taste

Method:
  • Mix sooji with curd and water and leave it for 5 mins for the sooji to absorb the water.
  • Preheat the oven at 180 deg C/350 deg F for 10 mins.
  • Line the loaf pan with a parchment and grease the edges with oil and keep it ready.
  • Add all the vegetables- grated carrots, green peas, chopped onions and coriander leaves, chili paste, grated ginger, turmeric powder and salt and mix nicely.
  • In a small tempering pan heat oil and crackle mustard seeds and cumin seeds and add this to the sooji mixture. The mixture should be of medium consistency like rava idli batter, if not add a couple of tablespoons of water to achieve that consistency.
  • Add baking soda and mix well and leave it for 3-5 mins.
  • Pour the batter into the prepared tin and sprinkle sesame seeds on top of it and bake it for 35-40 mins until the tooth pick comes out clean.
  • Let it cool a bit in the pan and gently tap into an inverted plate and let it come to room temperature or until it is just warm.
Cut into slices and serve it warm with Green Chutney.

Notes:
  1. You can add vegetables of your choice - chopped french beans, corn and chopped palak to the batter.You can even use frozen vegetables for this.
  2. You can even add red chili powder to the batter but I did not add it.
  3. The batter can be prepared ahead and just before baking add the baking soda and bake it in oven.
  4. You can even use 1/2 tsp baking powder and 1/2 tsp baking soda for the recipe.